4. #DIY your web presence | A Custom domain name on your site & version control

I am a Software Engineering and Product professional versed in working in the Scrum-Agile framework for delivering software. I am experienced in remote work, collaborating within cross-cultural, multinational teams across diverse industries, including fintech, education, agriculture and legal.
My mantra is "invoke the builder within and serve" meaning; besides being a creative head (building and tinkering), I believe I go beyond myself and work on impacting others. This is through leading, giving, teaching (wholesomely breaking barriers, real or imagined) and mentoring.
TechKln community is a brainchild of mine.
In the previous parts of the series, we learnt about the internet and the world wide web. We then got a free custom domain from Freenom and deployed our site with Netlify. Here we'll tie the custom domain to your deployed site and make changes via version control.
The steps should be easy to follow and I'll add context where necessary. Feel free to ask questions in the comments section.
The series: DIY your web presence 'for FREE'
Previous post: #3
Tying the domain name and our site together
Add a custom domain on Netlify
Once you are logged in your home page has a list of your sites. By clicking the one, you'll be using, you are redirected to a page with a section similar to the one below.
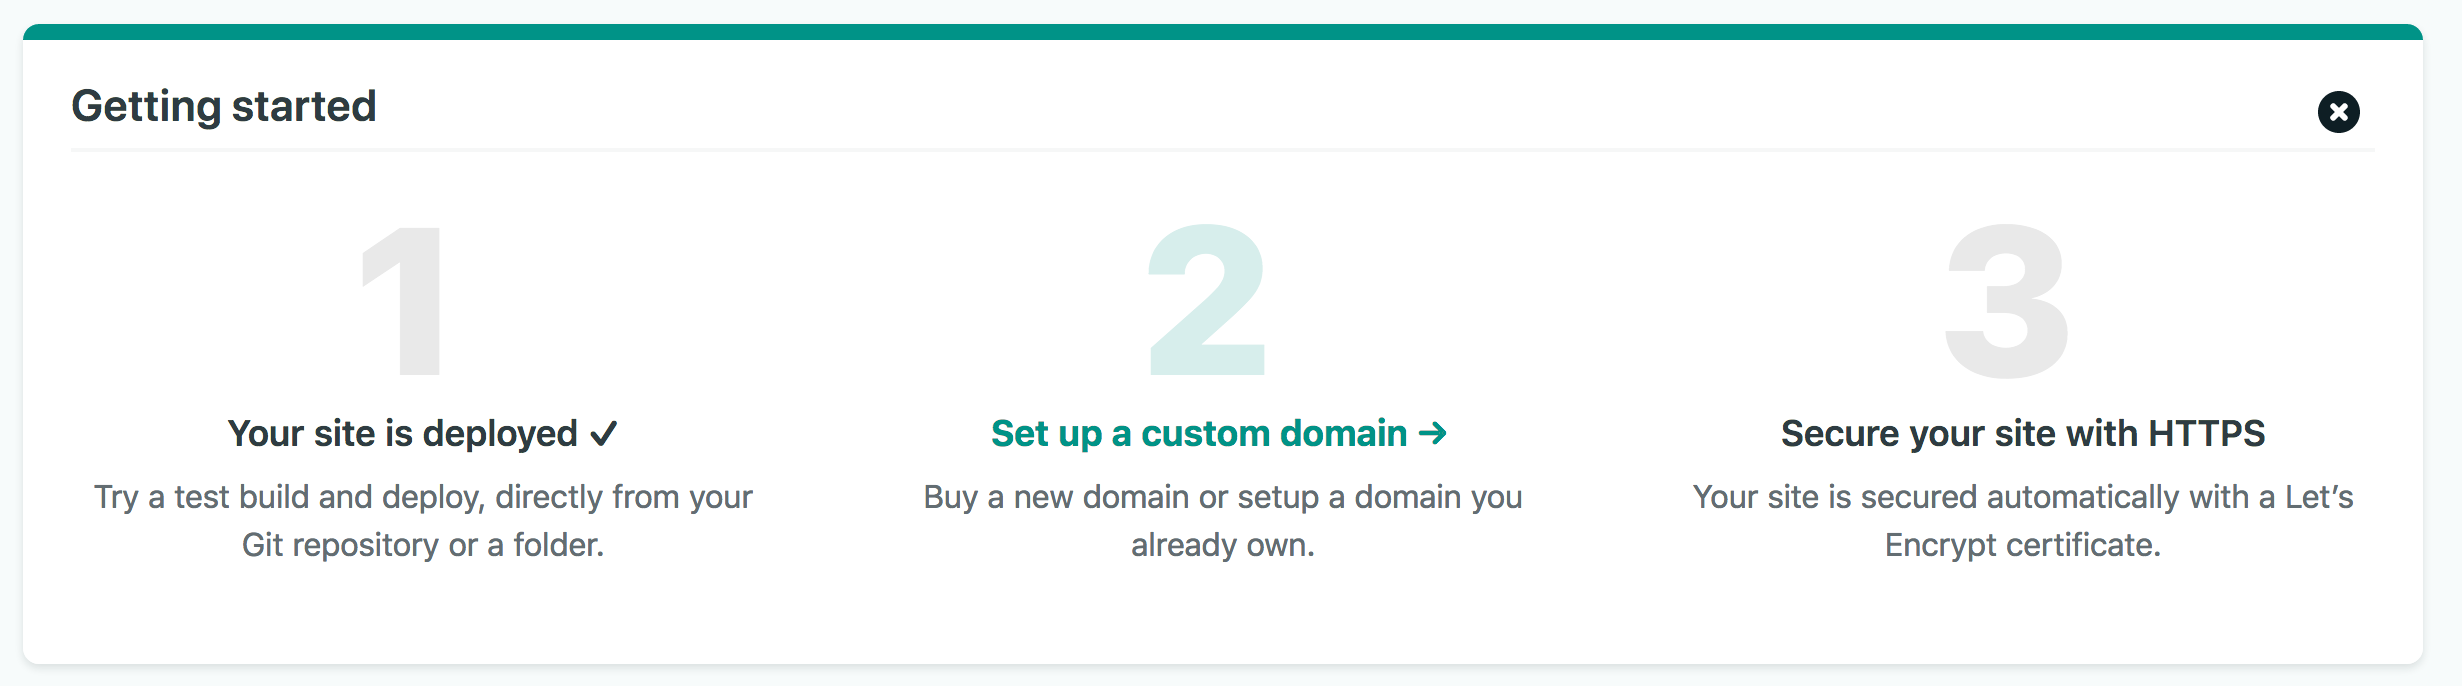
Click on Number 2: Set up a custom domain. Enter the domain name we "bought" or rather acquired for free and Verify.
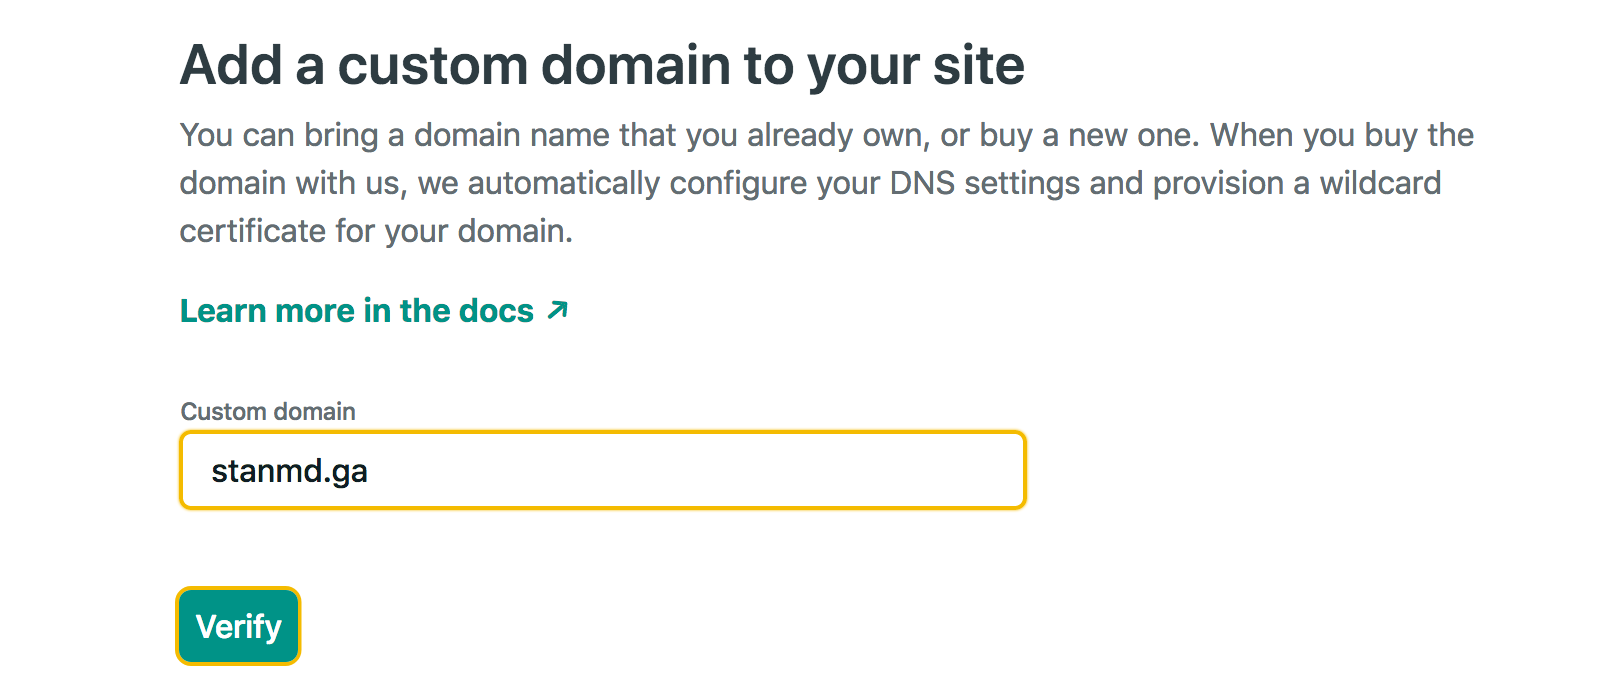
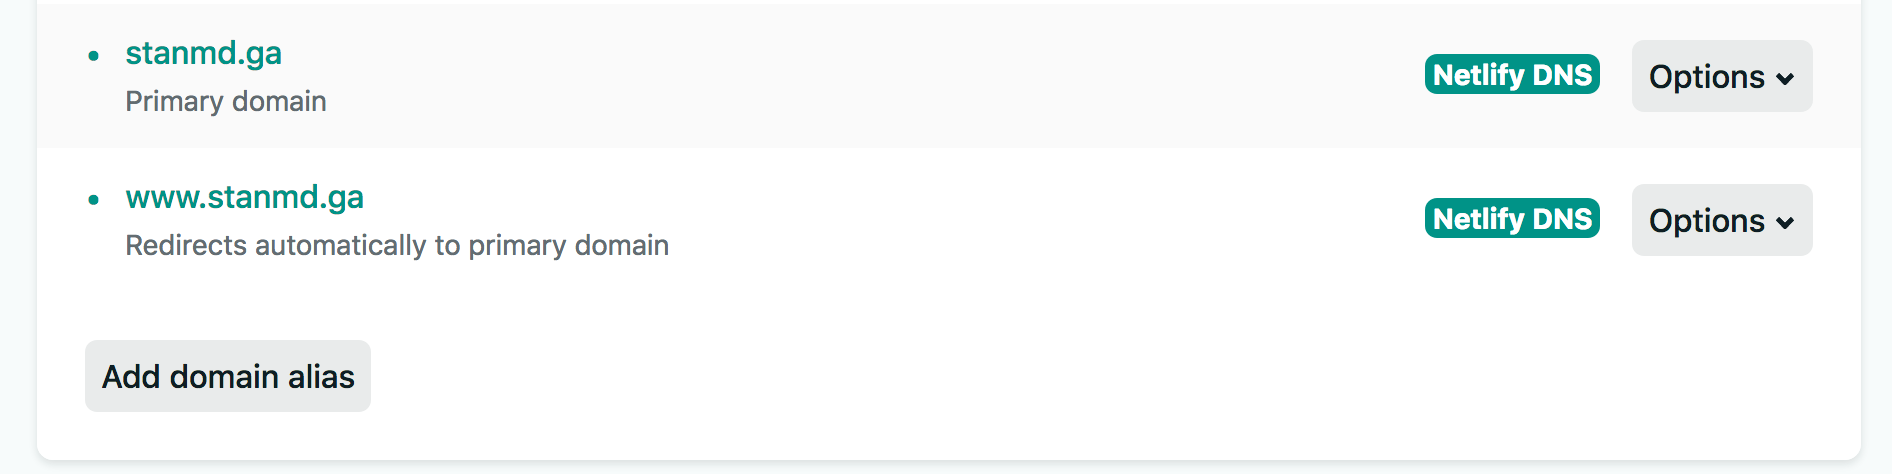
Since you own it, click Yes and add domain and you'll have your domain under custom domains. Click Options in the primary domain column and Select Setup Netlify DNS. I touched on DNS on this previous article.

Again, Verify and Yes, add domain in Step 1.
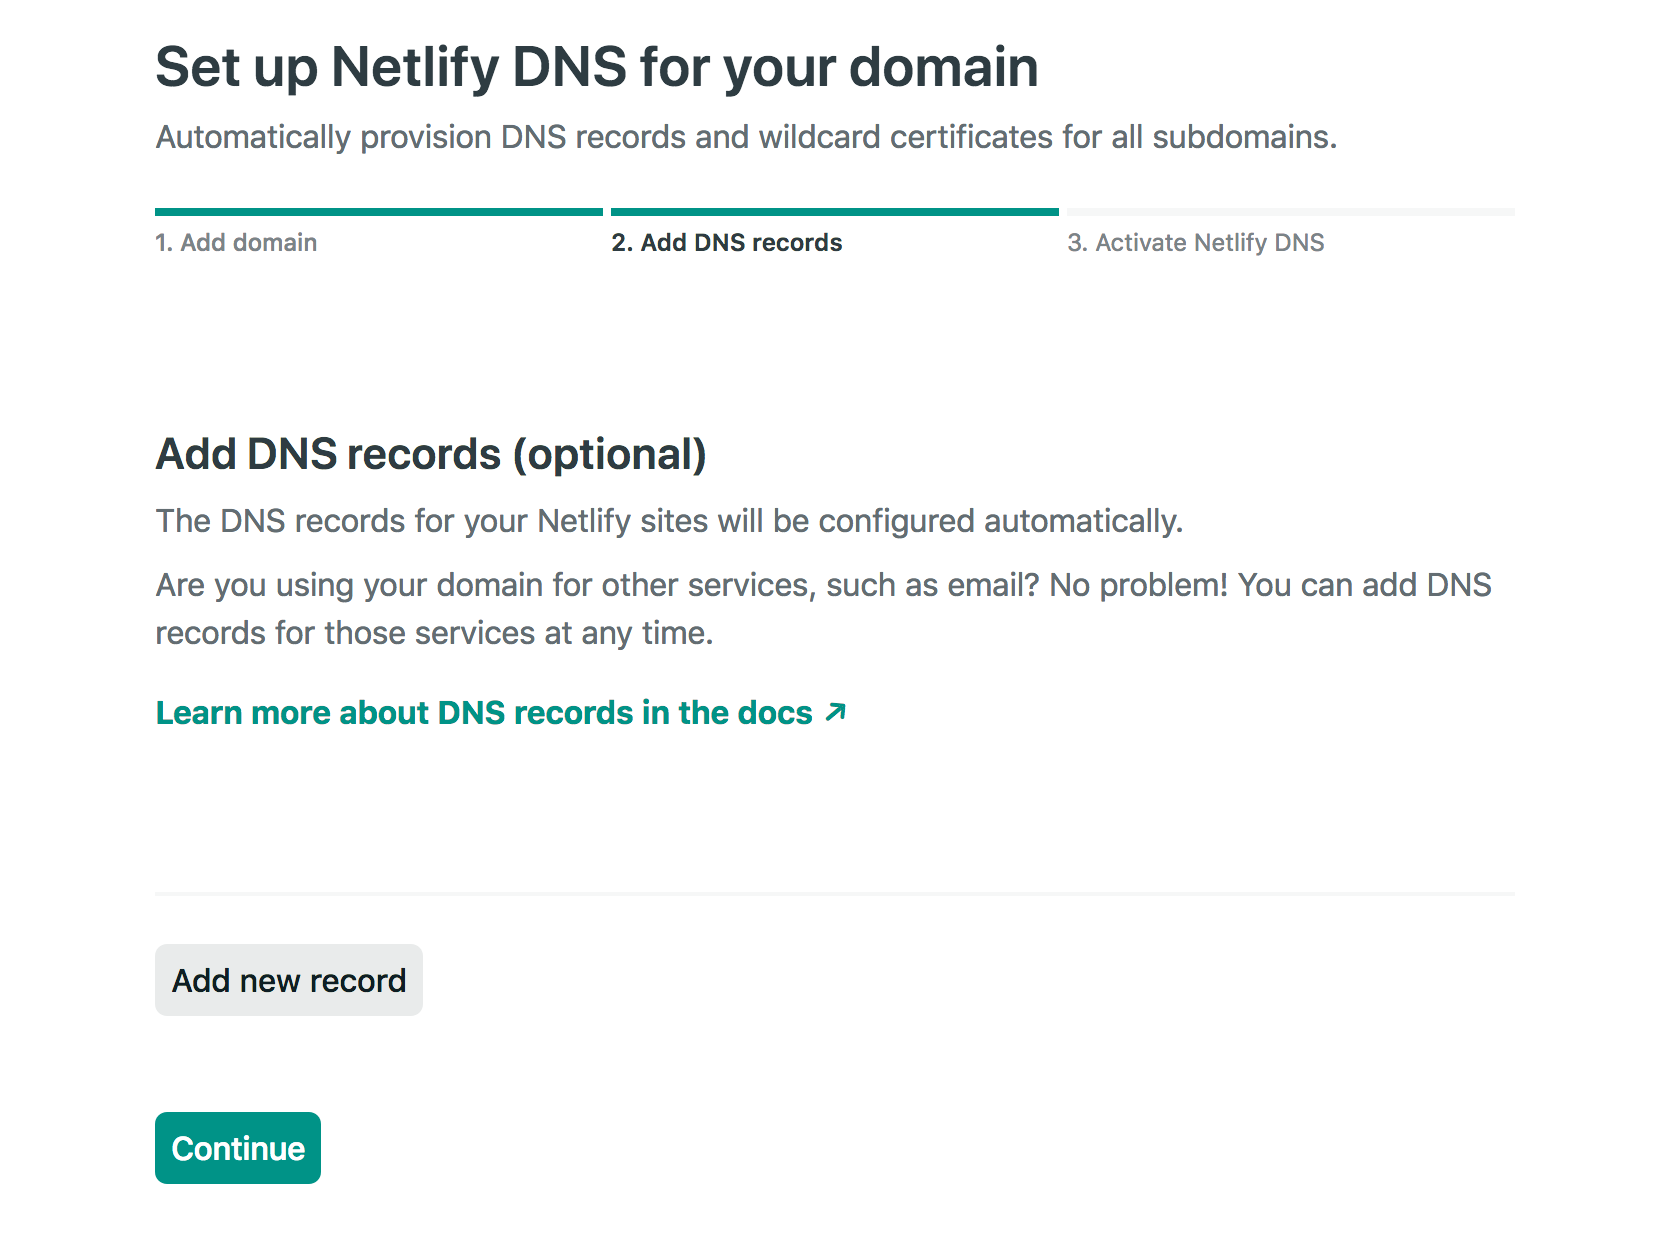
Continue in Step 2 and pause on Step 3.
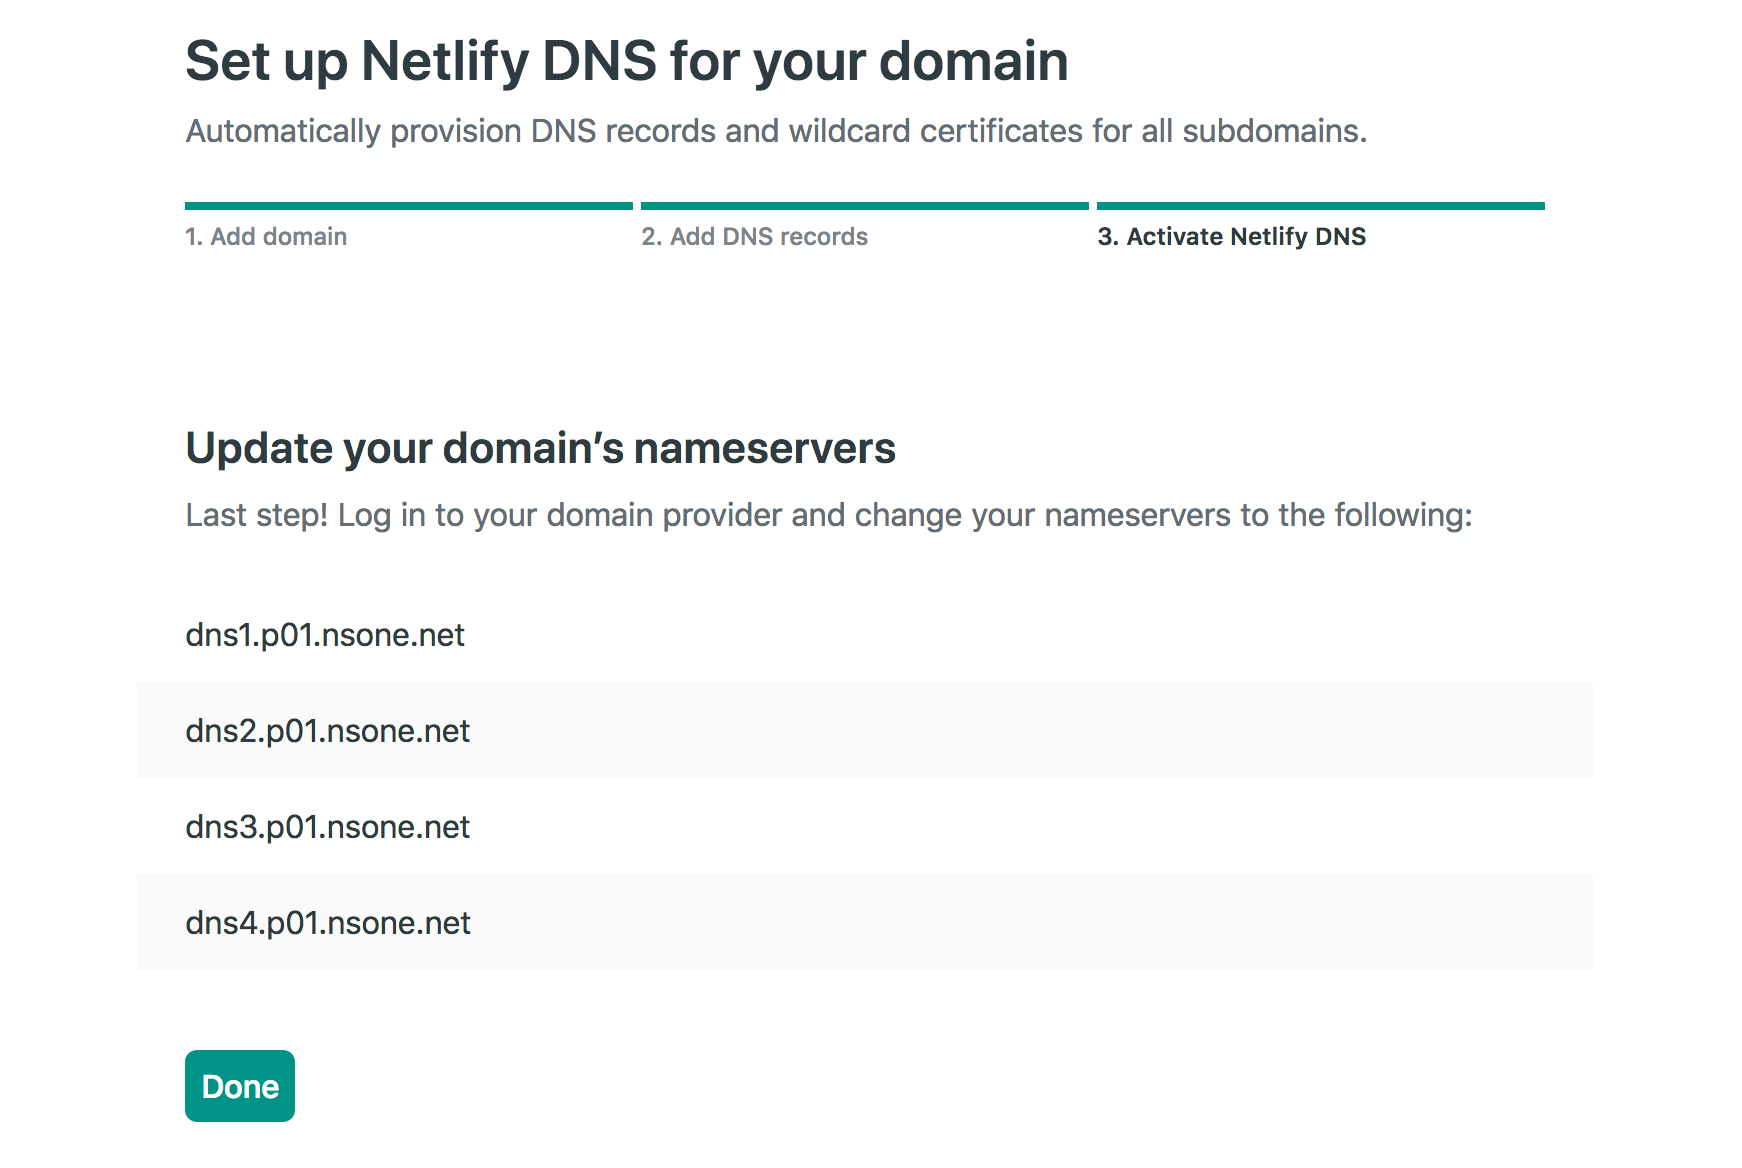
We'll be copying these four domain names of Netlify's name-server to Freenom. (Please note that these may be different for different custom domains)
Update DNS on Freenom
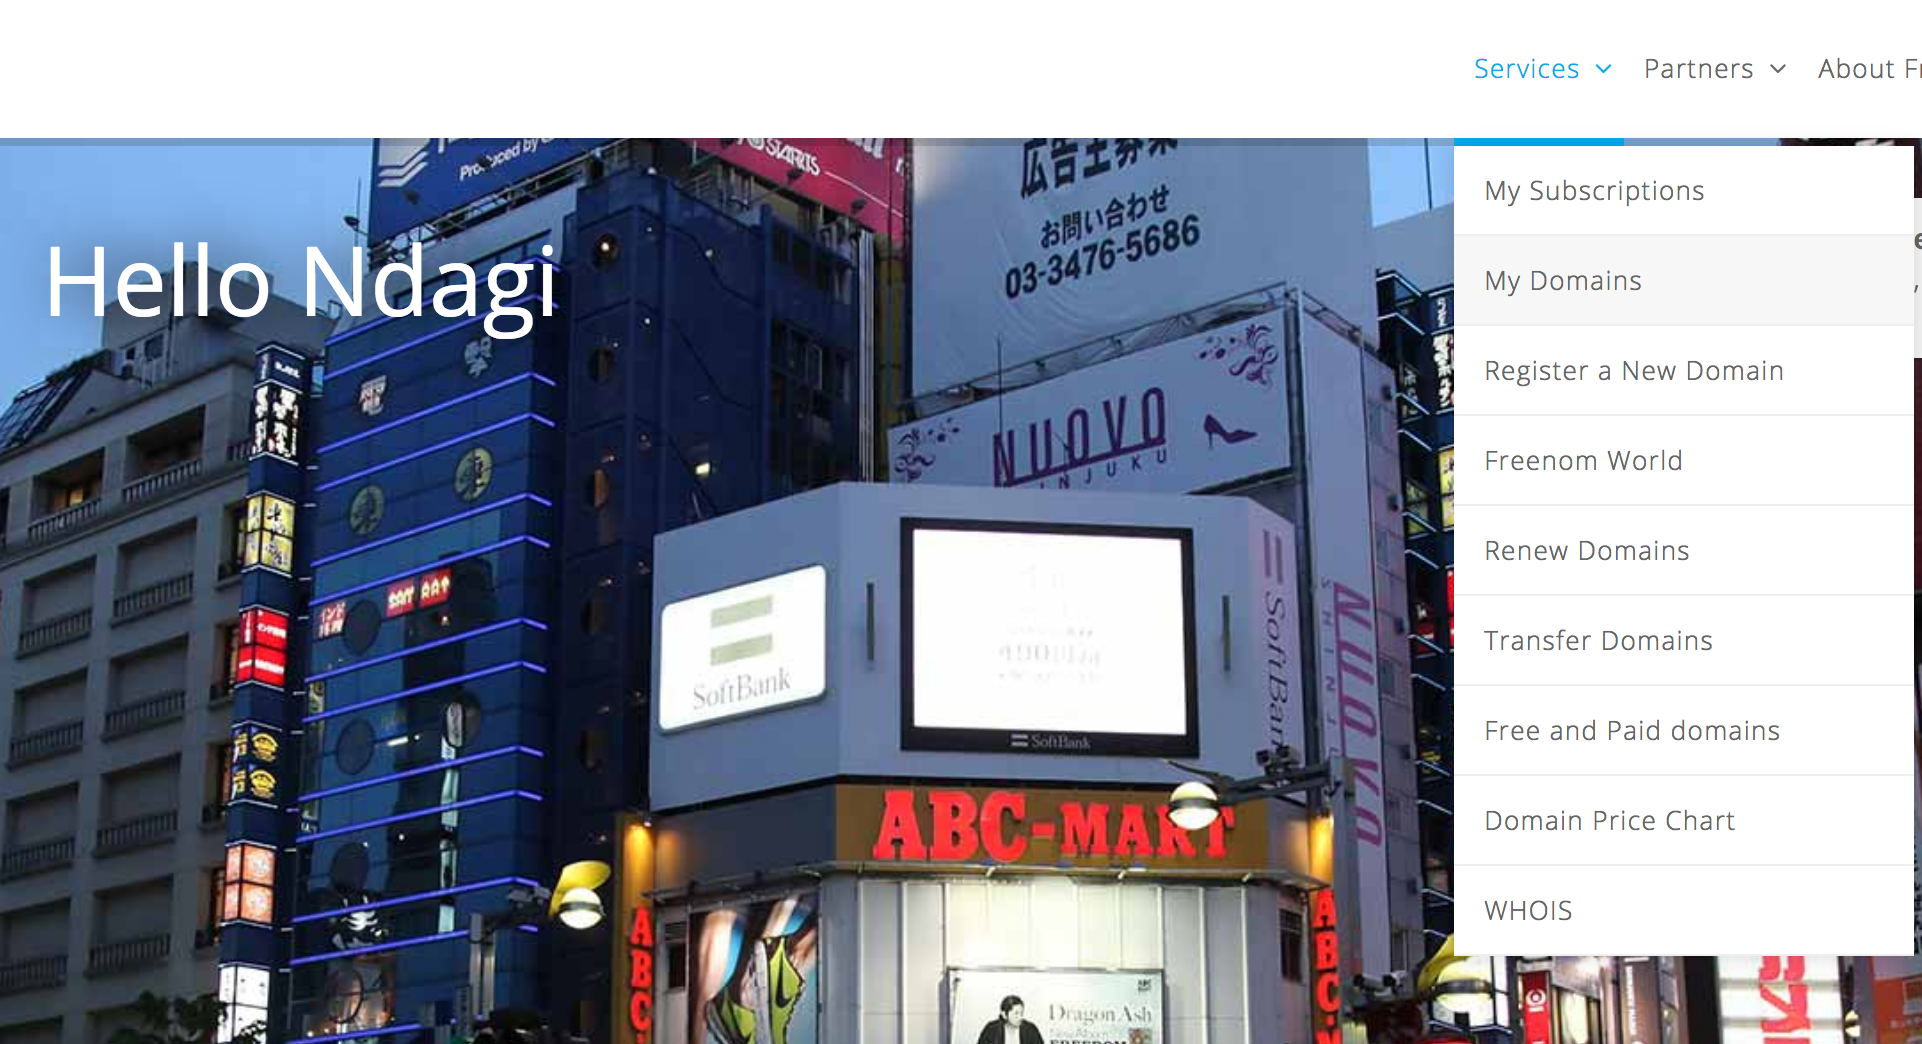
Click on My Domains under the Services menu on the navbar.
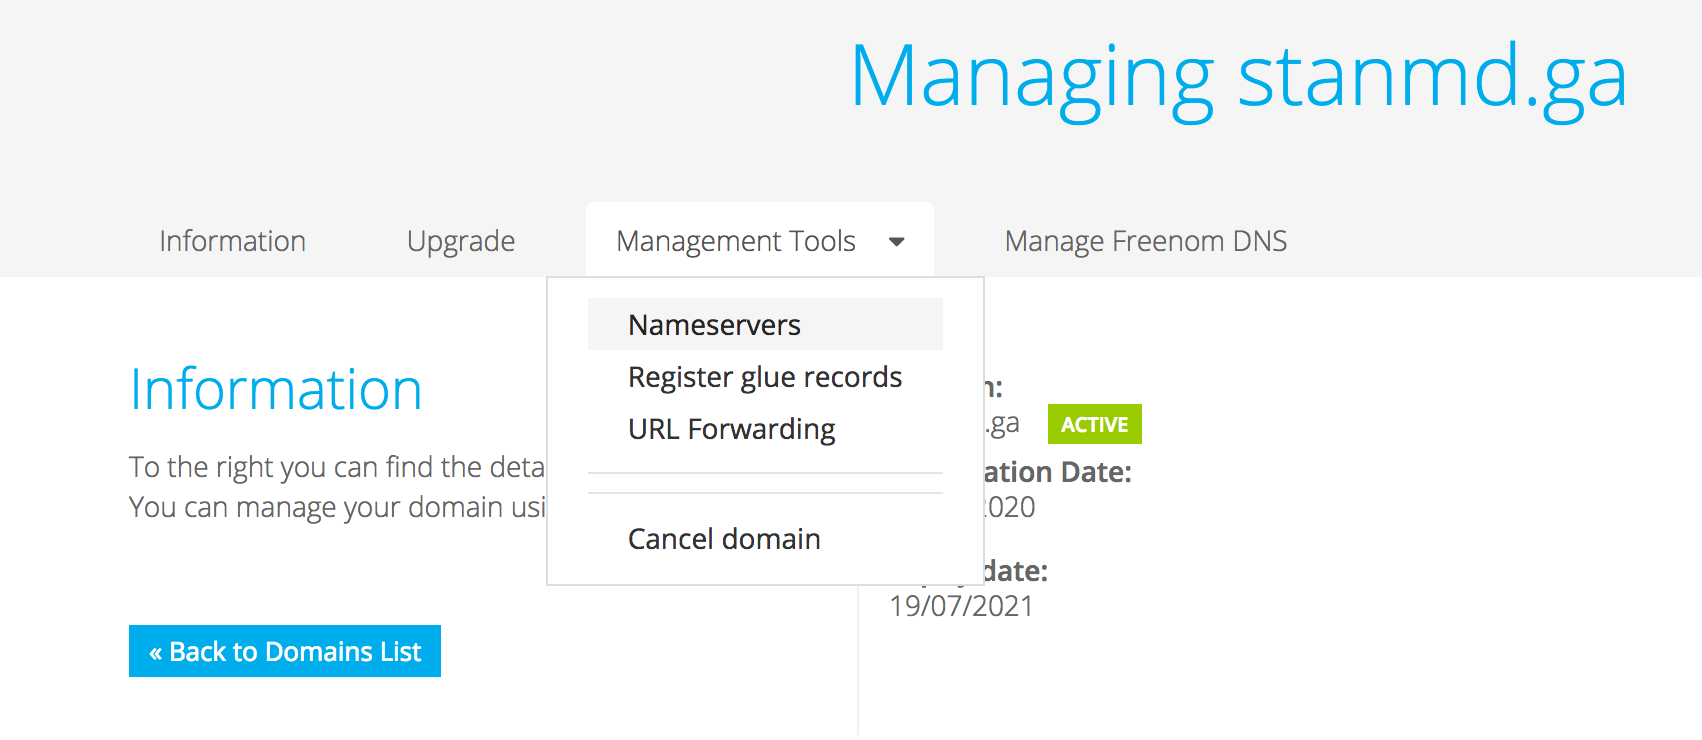
Thereafter, select Manage Domain for your domain. On the 'management' page, under the Management Tools drop-down menu select Nameservers.
Click on Use custom nameservers and copy-paste the Name Servers' domain names from Netlify to Freenom. So that they are the same. (Compare with Step 3 in Netlify above)
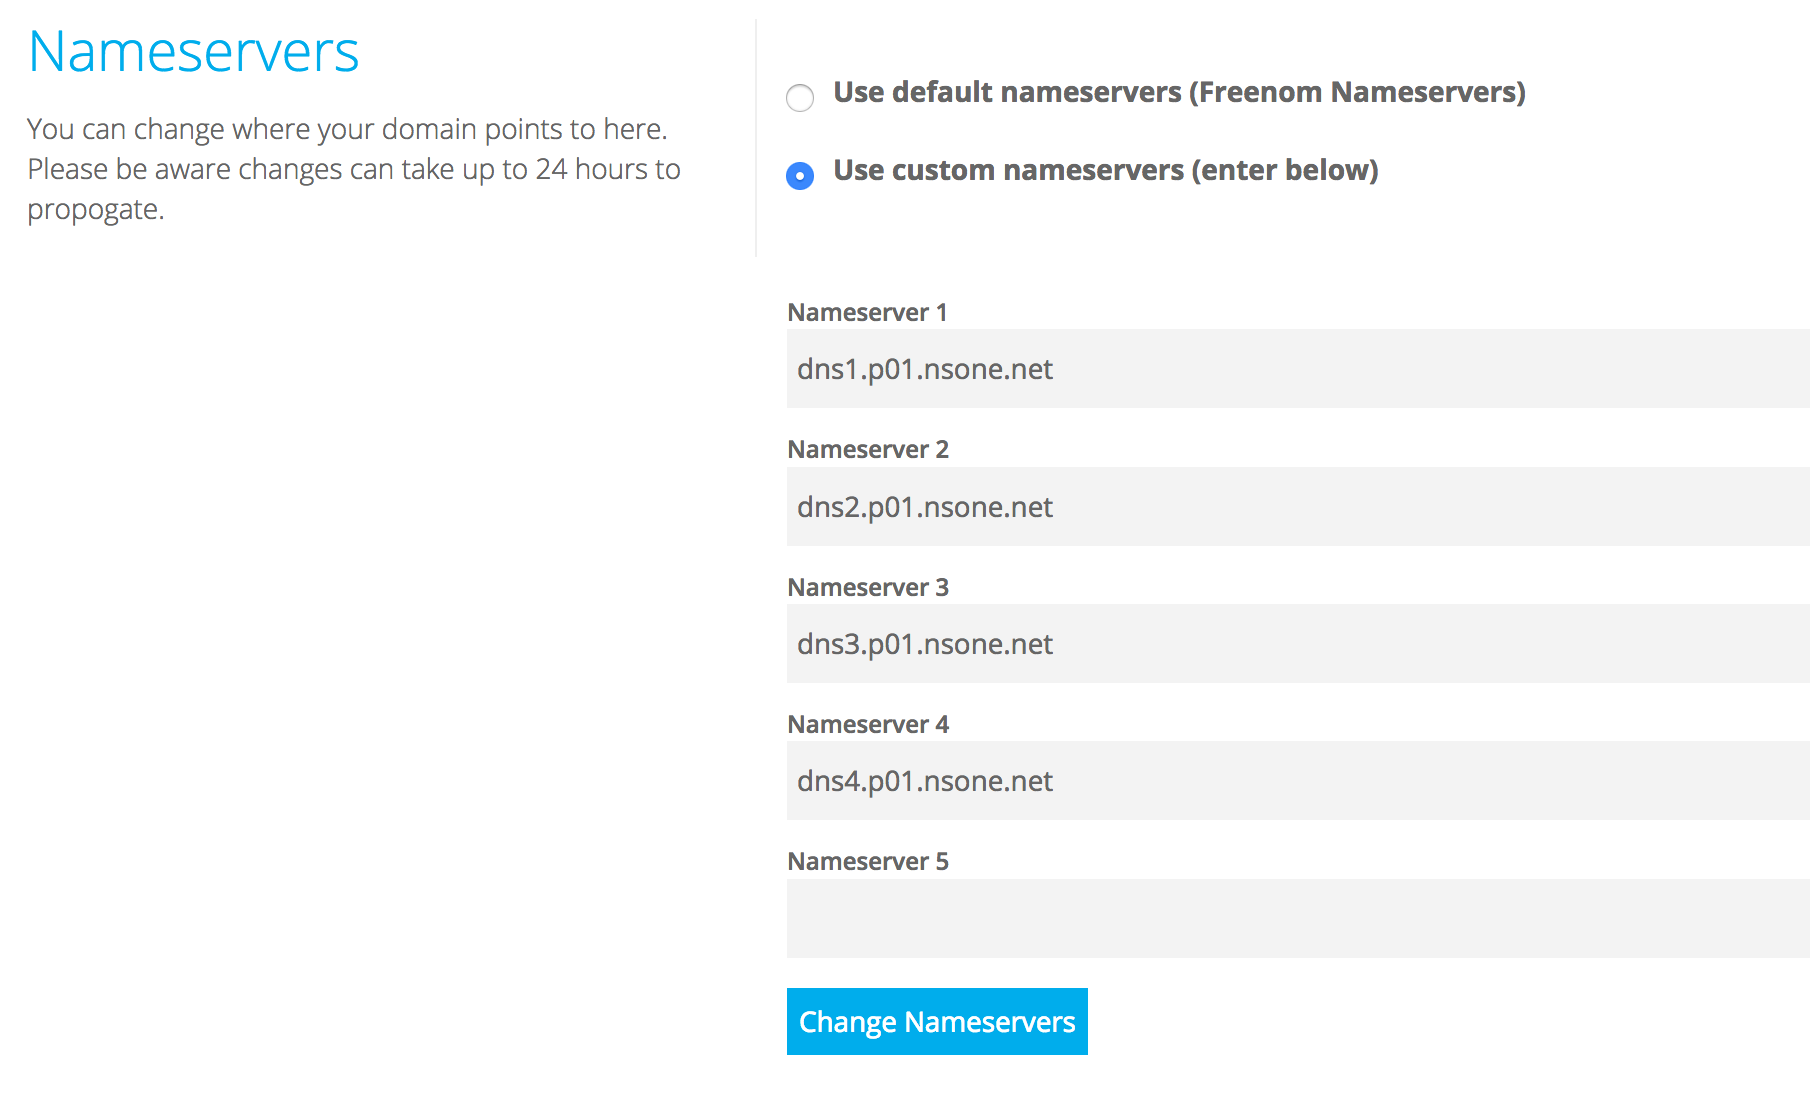
Click Change nameservers to complete.
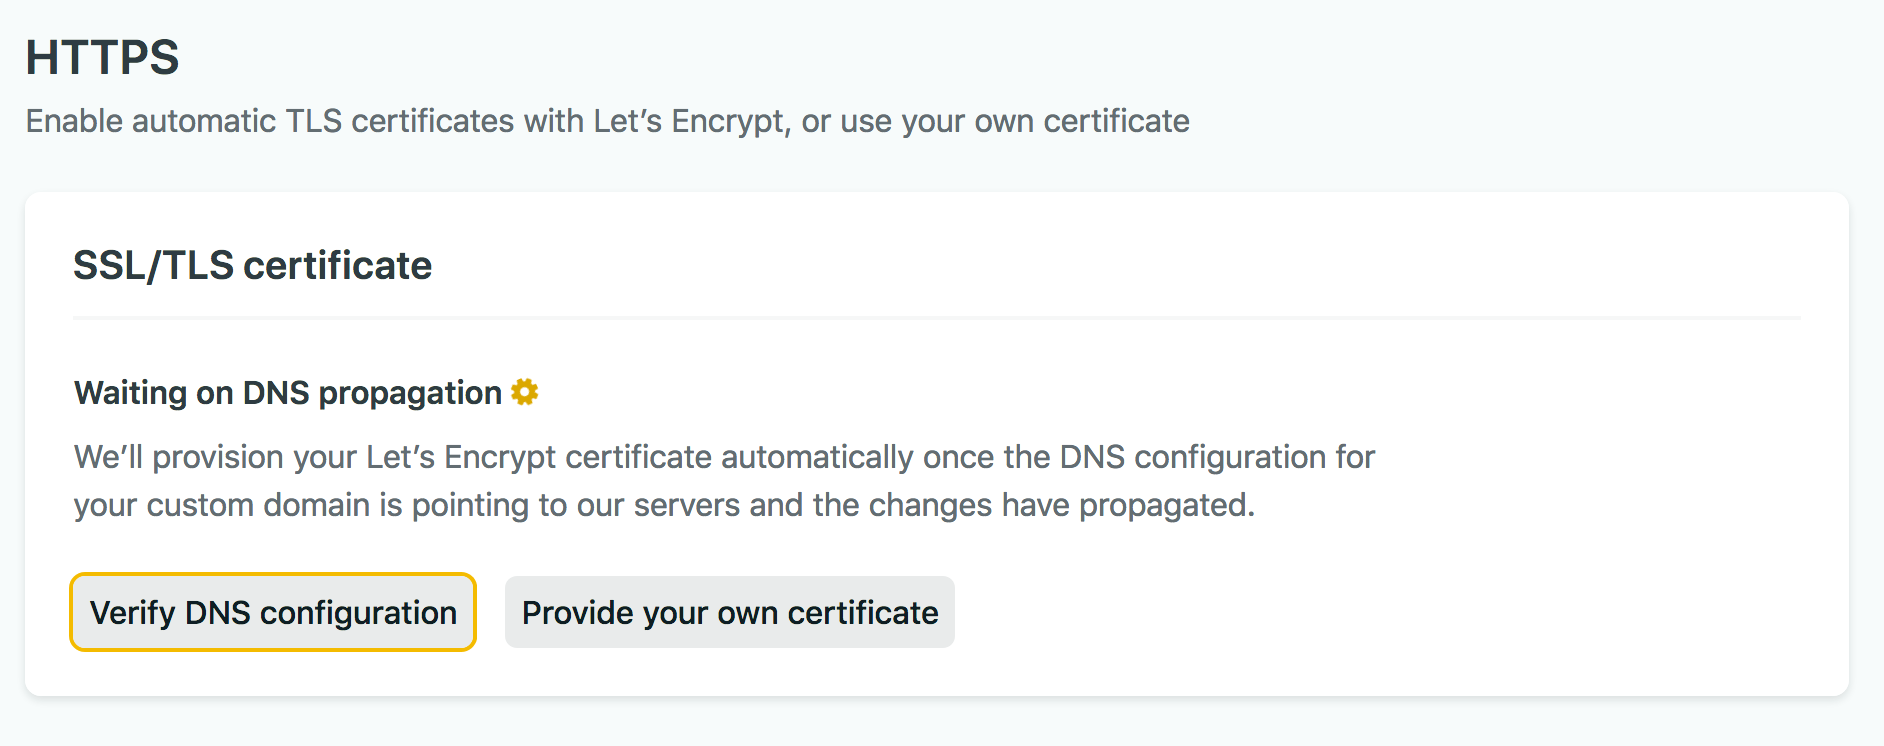
Set up HTTPS
On Netlify step 3; with the name server's domain names copied to Freenom successfully, click Done.
It takes some minutes to show Netlify DNS as the screenshot below. Just reload every so often in the space of 10 minutes. (Maybe longer but it works within 10 minutes for me)
The final step is just to verify the DNS configuration. Scroll down to the bottom of the page. This is done by clicking Verify DNS configuration, and you're done. Head over to your site at your custom domain 🎉.
Please share your custom domain in the comments section. I would like to celebrate with you.
Version Control
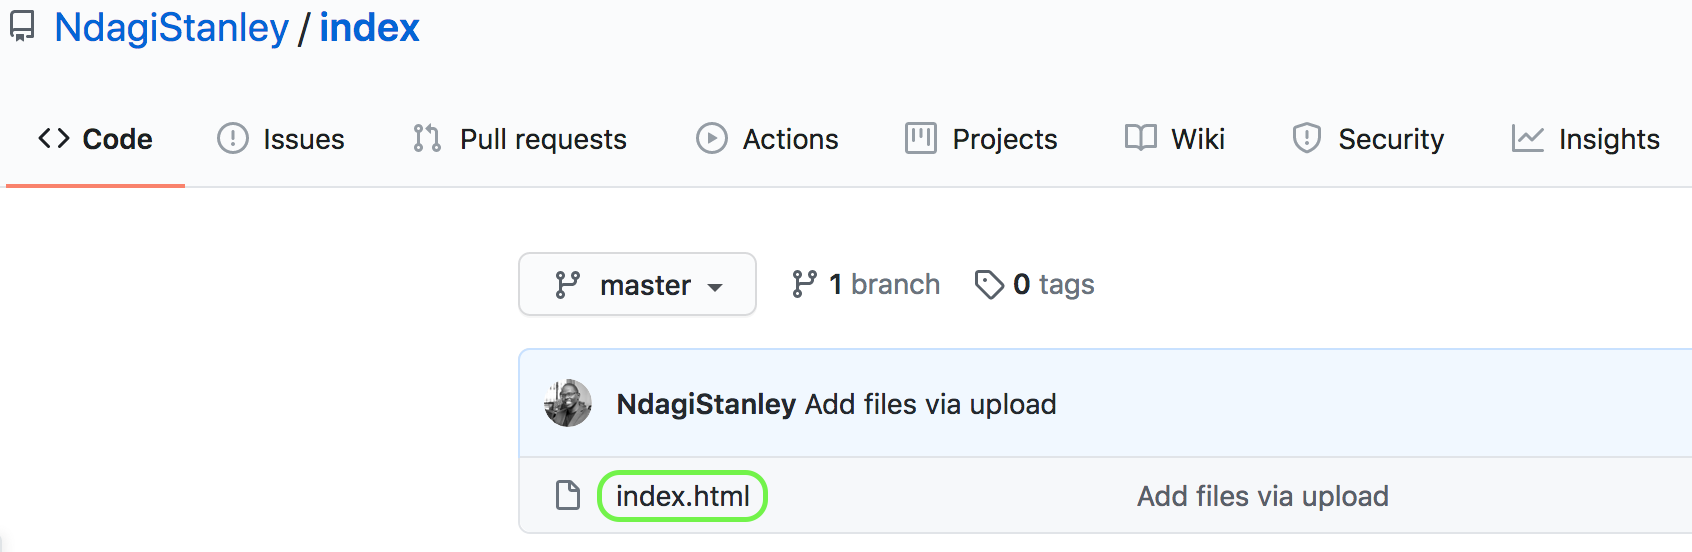
In the last article, if you created a GitHub account (or if you have one already), then you can proceed with this section. I will use the index.html file we used to keep things simple. This is mostly foundational; the process is transferrable when dealing with many more files.
Using GitHub
On your browser, navigate to your repository and click on the index.html file.
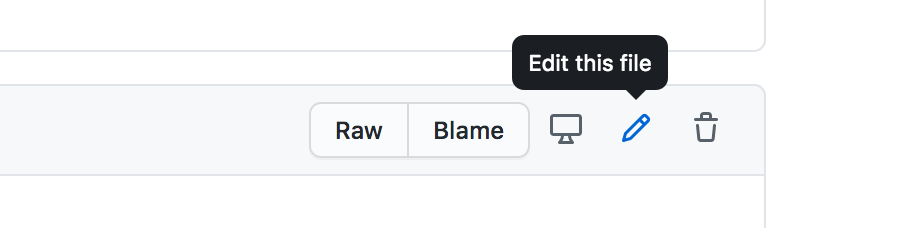
Then click on the pencil icon to Edit the file.
Here's a simple code snippet that you can replace the file with:
<!DOCTYPE html>
<html lang="en">
<head>
    <meta charset="UTF-8">
    <meta name="viewport" content="width=device-width, initial-scale=1.0">
    <title>Hello World</title>
    <style>
        body {
            background-color: #2D2D2D;
        }

        h1 {
            color: #C26356;
            font-size: 30px;
            font-family: Menlo, Monaco, fixed-width;
        }

        p {
            color: white;
            font-family: "Source Code Pro", Menlo, Monaco, fixed-width;
        }
    </style>
</head>
<body>
    <h1>Hello World</h1>
    <p>This is a paragraph</p>
</body>
</html>
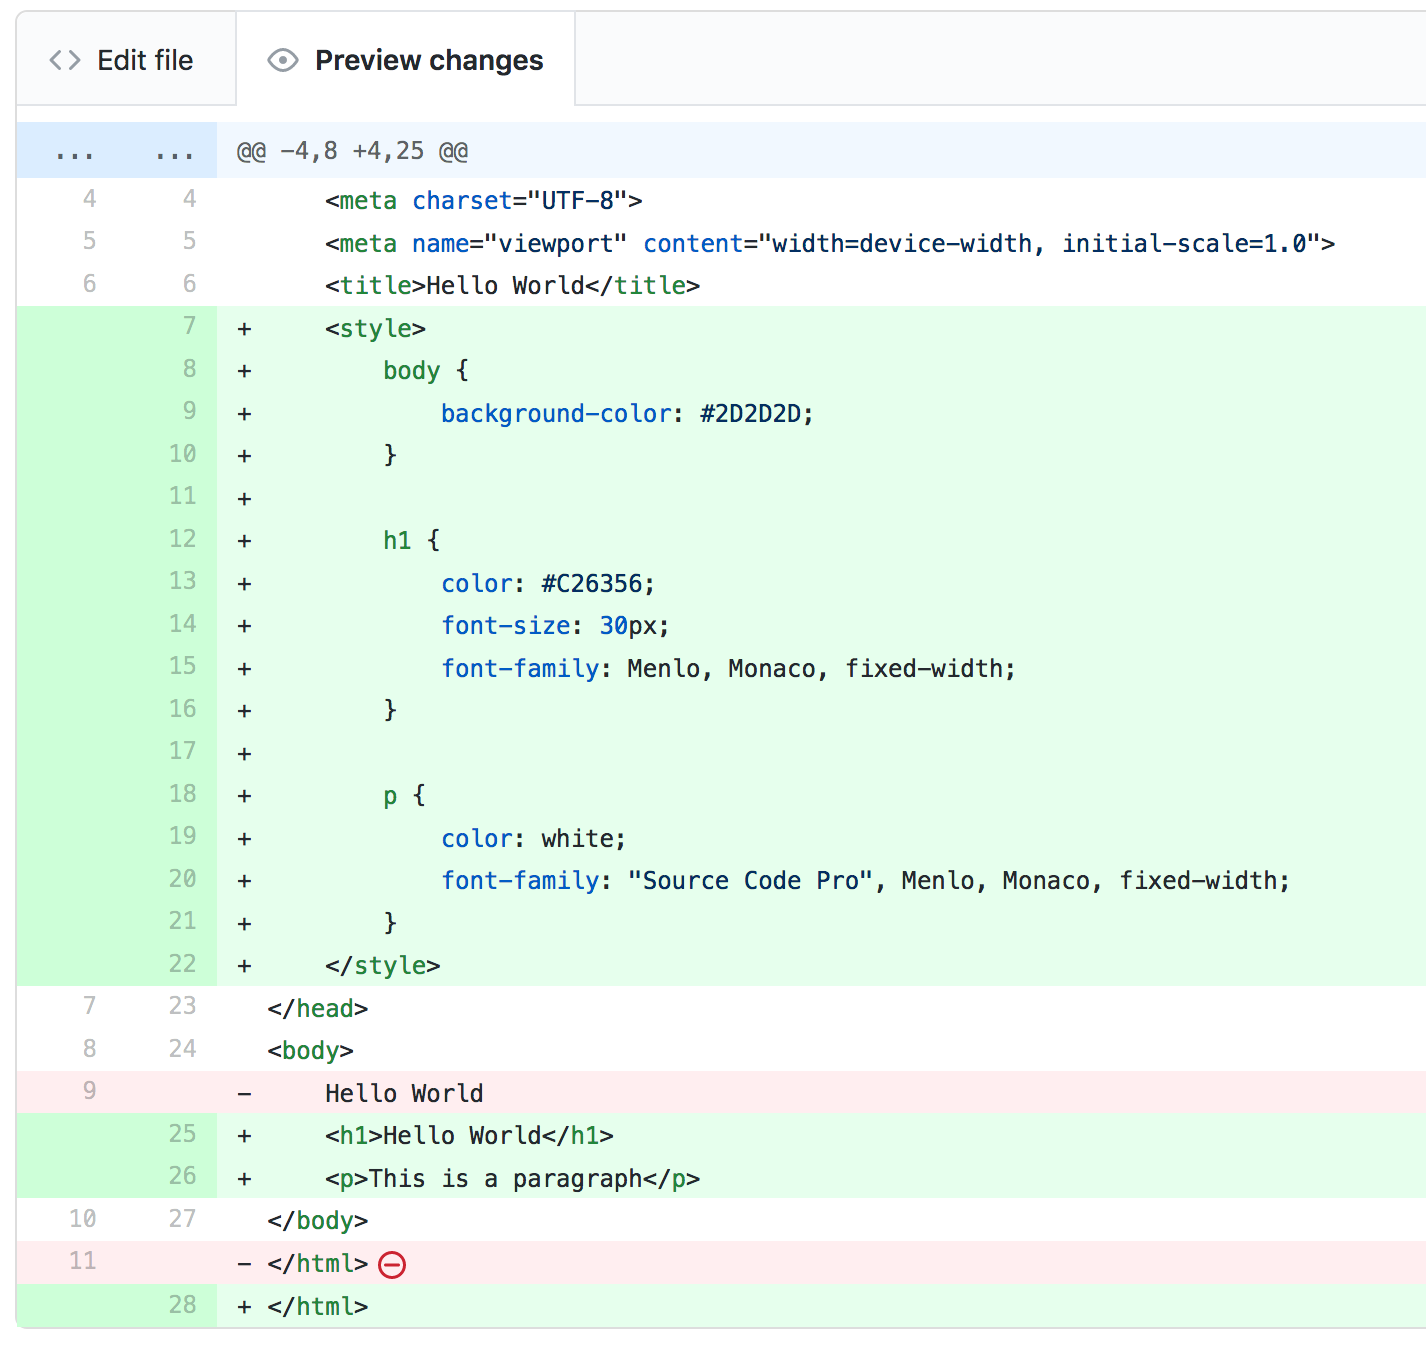
Click on Preview Changes. The text with a green background is code that has been added and that with the red background is deleted code. At the end of the file, this time I added a new line too. Click Commit changes at the bottom.
In seconds, your site has been updated.
Using a local repository
If you're new to version control, you can imagine that it could be a bit time-consuming to edit several files and commit changes. That's just one of the problems that this process of using GitHub on the web can bring about. Fortunately, it works for a simple use-case as the one above, especially since you are working solo on this repo. The industry standard, for software development, is to work locally on a copy of your remote repository, for example, this one on GitHub, and push changes over time.
I will point you to this article on FreeCodeCamp or this multistep Atlassian Git tutorial. If you prefer e-books and want to get into the nitty-gritty of things, here's a book by some friends of mine (Alex and Joseph): Version Control with Git and GitHub. You can use the Free Sample to begin with, buy the e-book, or get it in paperback.
Conclusion
This wraps up the main part of #DIY your web presence 'for FREE' series. What's next is a bonus, where we go about creating a blog. See you then.
Here is the site I published and the GitHub repo used.