Now that we have a working understanding of the internet and domain names, let's own one and say "Hello World".
The steps should be easy to follow and I'll add context where necessary. Feel free to ask questions in the comments section.
The series: DIY your web presence 'for FREE'
Previous post: #2
Your free domain and a landing page
When I started out, seeking to have a custom web presence (beyond having an email and Facebook account), I was pleasantly surprised to find out that I could get a free domain. I gravitated to .tk since it is the short form of TechKenyans (now TechKln), a community I run 💪. At first, it was for testing purposes but I have come to use it for keeps: stanmd [dot] tk (I no longer own this domain. It served me well while it lasted).
Below, I take you through the process of having a domain and a landing page for free. I believe this is the epitome of a free and accessible internet. Anyone can have a place to call home in the World Wide Web!
Getting a free domain
DotTK (please note the link is not https) claims to be the only TLD domain-name registry that provides free domain names.
What's the catch?
Well, the details about the company are here. Simply put, it is a joint venture with several parties, chief among them; the government of a little known country, Tokelau. The atolls (islands, loosely explained) of this tiny country are right at the international dateline; interesting story here. I think this place is worth a visit. Anyway, I digress 😁
The mission of DotTK is to increase the country's publicity globally. If you did not know of this country up until now, we can agree they are succeeding. I'm sure you figured out that .tk is their ccTLD. The knowledge all comes together, right? Secondly, it's also profitable for the country. The proceeds out of royalties of this ccTLD have increased over 10% of the country's GDP (*the smallest economy in the world).
The domains are purchased on freenom.com. You might have guessed it; free domains have some limitations. However, when it's written FREE it is actually free! Not like others who 'give' a free domain if you purchase hosting or something else. Here's an example that I randomly came across. You can read the differences between paid and free domains here
Let's get that domain
Head over to freenom.com. There's no Register button here. These are the steps:
- Enter your domain of choice (without the TLD) in the field and :

- Click on Check availability
- Click on Get it now! and once it is selected click on Checkout
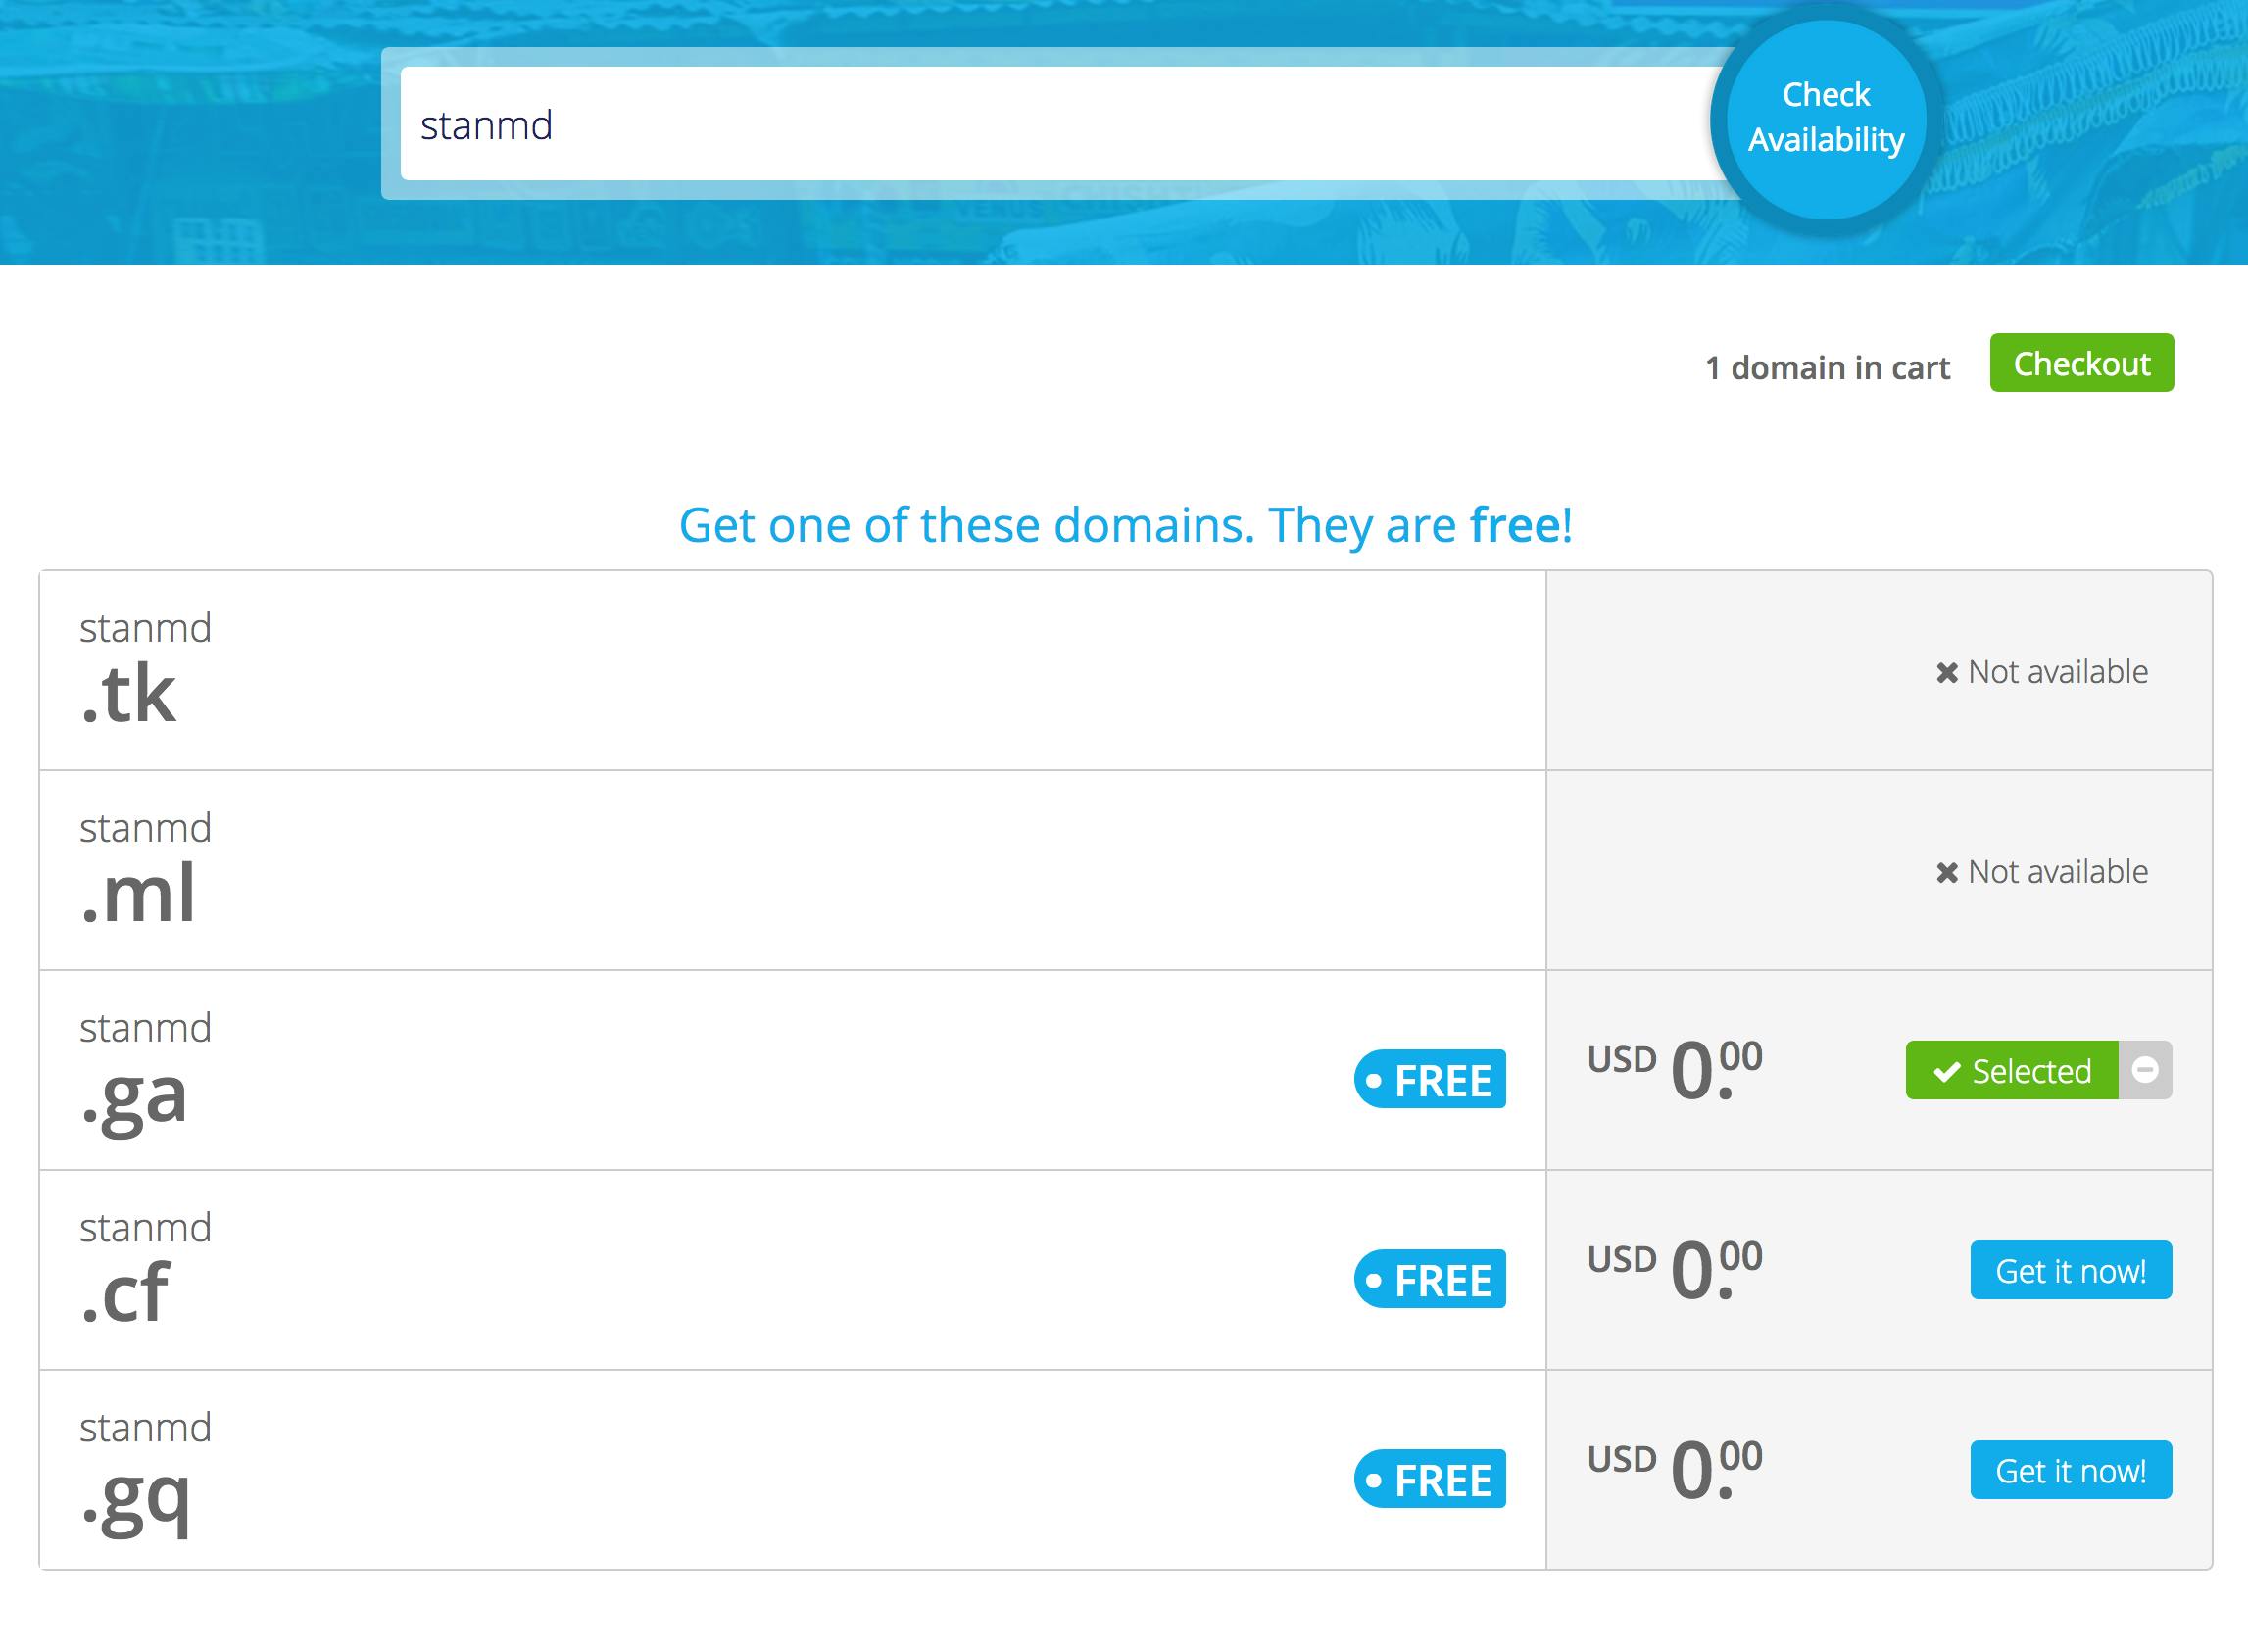
Please note that I have selected a free domain out of the 5 TLD's that are free The rest can be found at the lower part of the page at prices claimed to be the cheapest anywhere.
- In the dropdown, Period column select up to 12 months FREE 🎉. Click on Continue.
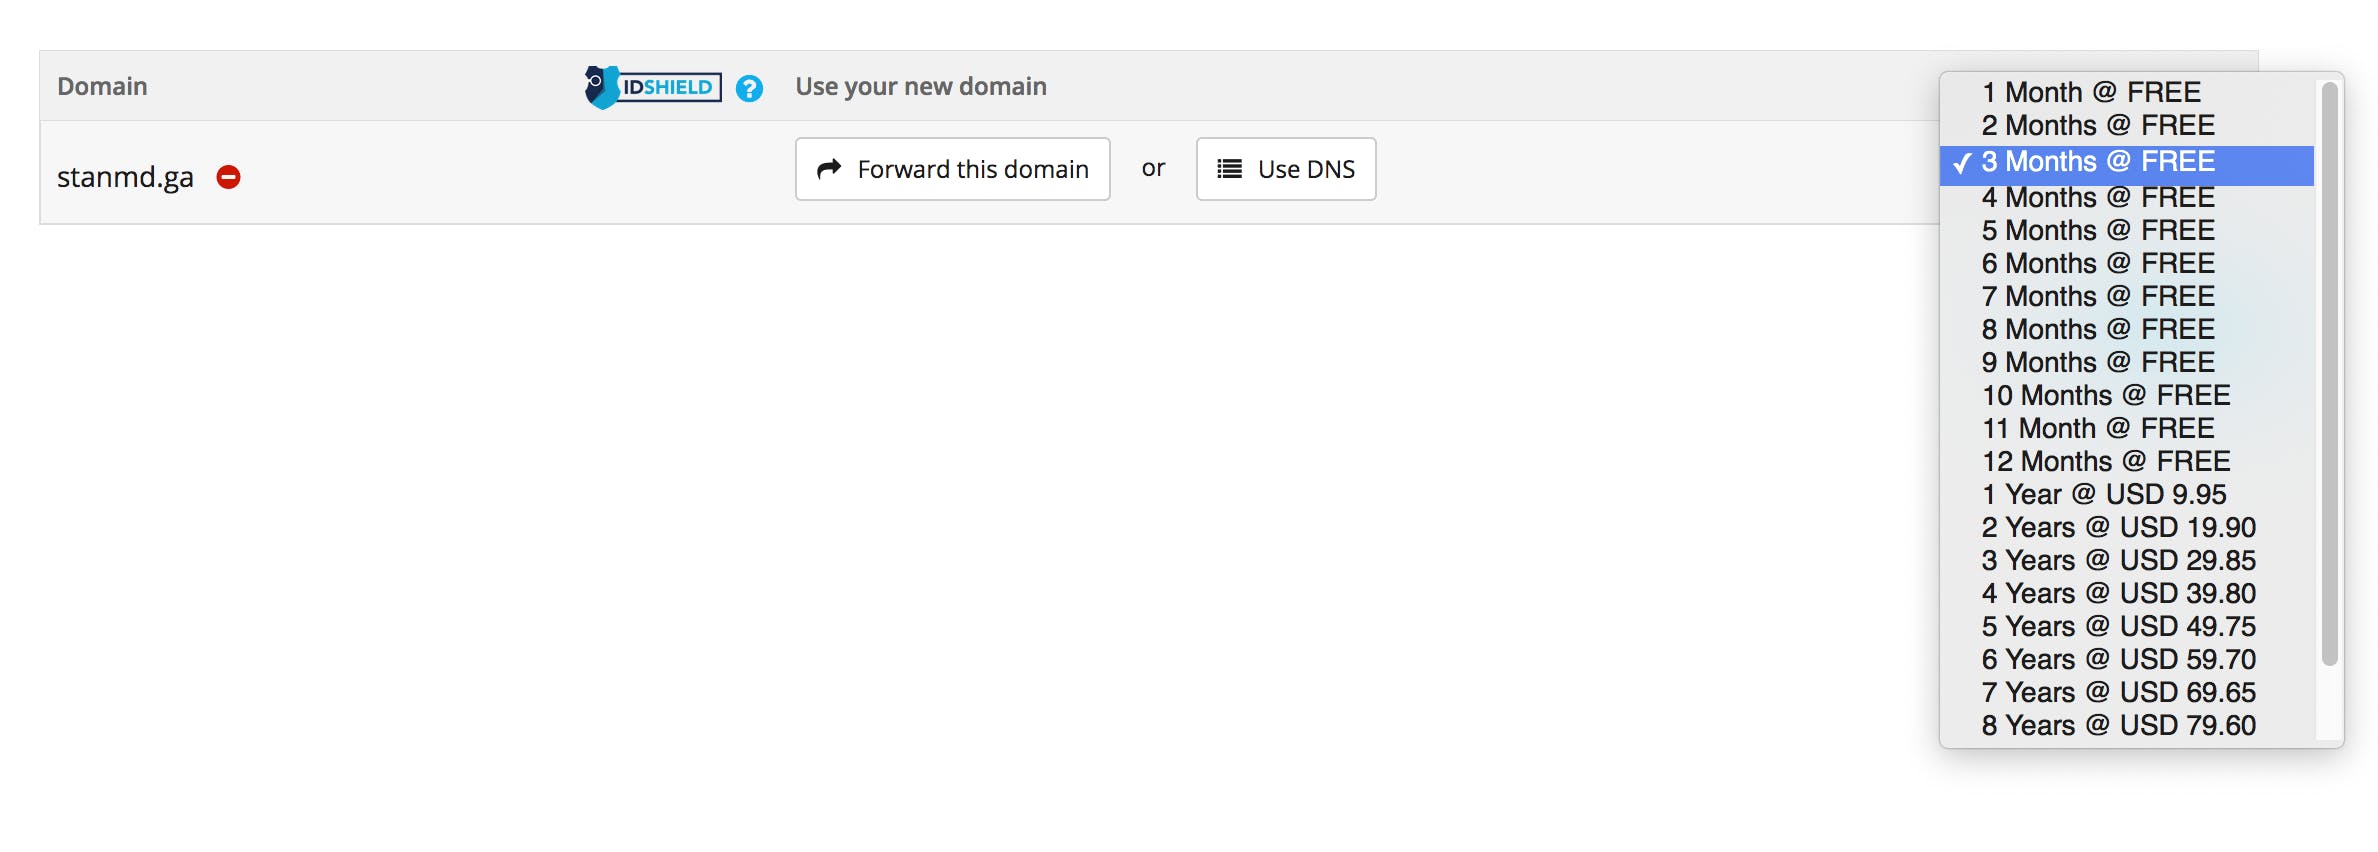
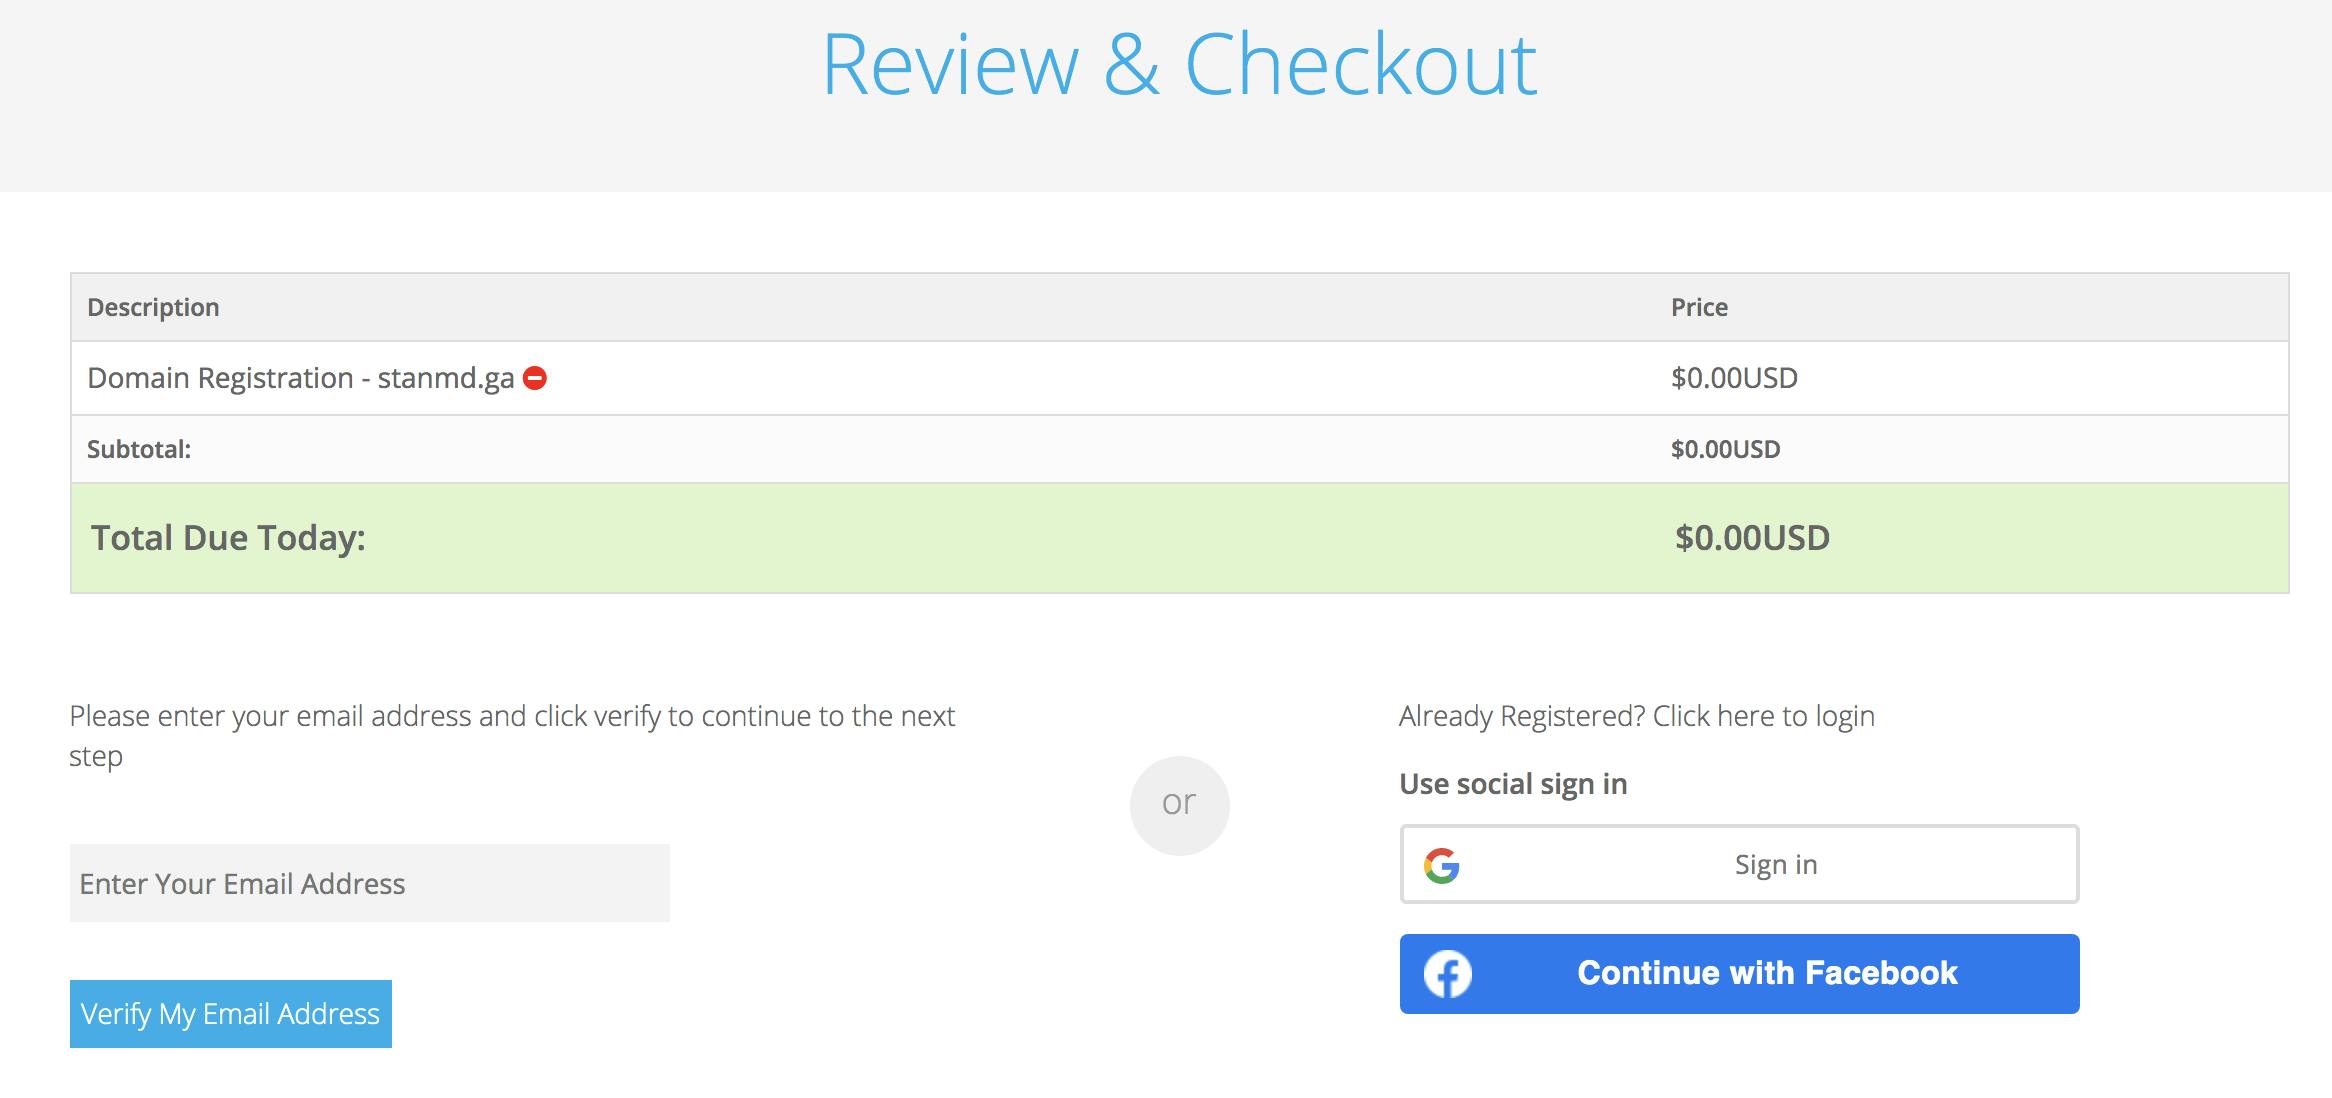
The next page Review & Checkout, use Social sign in with Google and you're done!
🚨 I found out that Facebook auth is buggy and so is Login with email address. So just go with Google sign in 😉
Landing page
Here we'll be using Netlify.
Quick way to do it
Create a folder and in it create a file index.html. Copy the code below and save.
<!DOCTYPE html>
<html lang="en">
<head>
    <meta charset="UTF-8">
    <meta name="viewport" content="width=device-width, initial-scale=1.0">
    <title>Hello World</title>
</head>
<body>
    Hello World
</body>
</html>
I'm using the above code snippet to make things easy. If this is new to you, here's a great resource on HTML (Your intro into web development).
Head over to Netlify Drop to drag and drop your folder (in the area I've highlighted in light green)
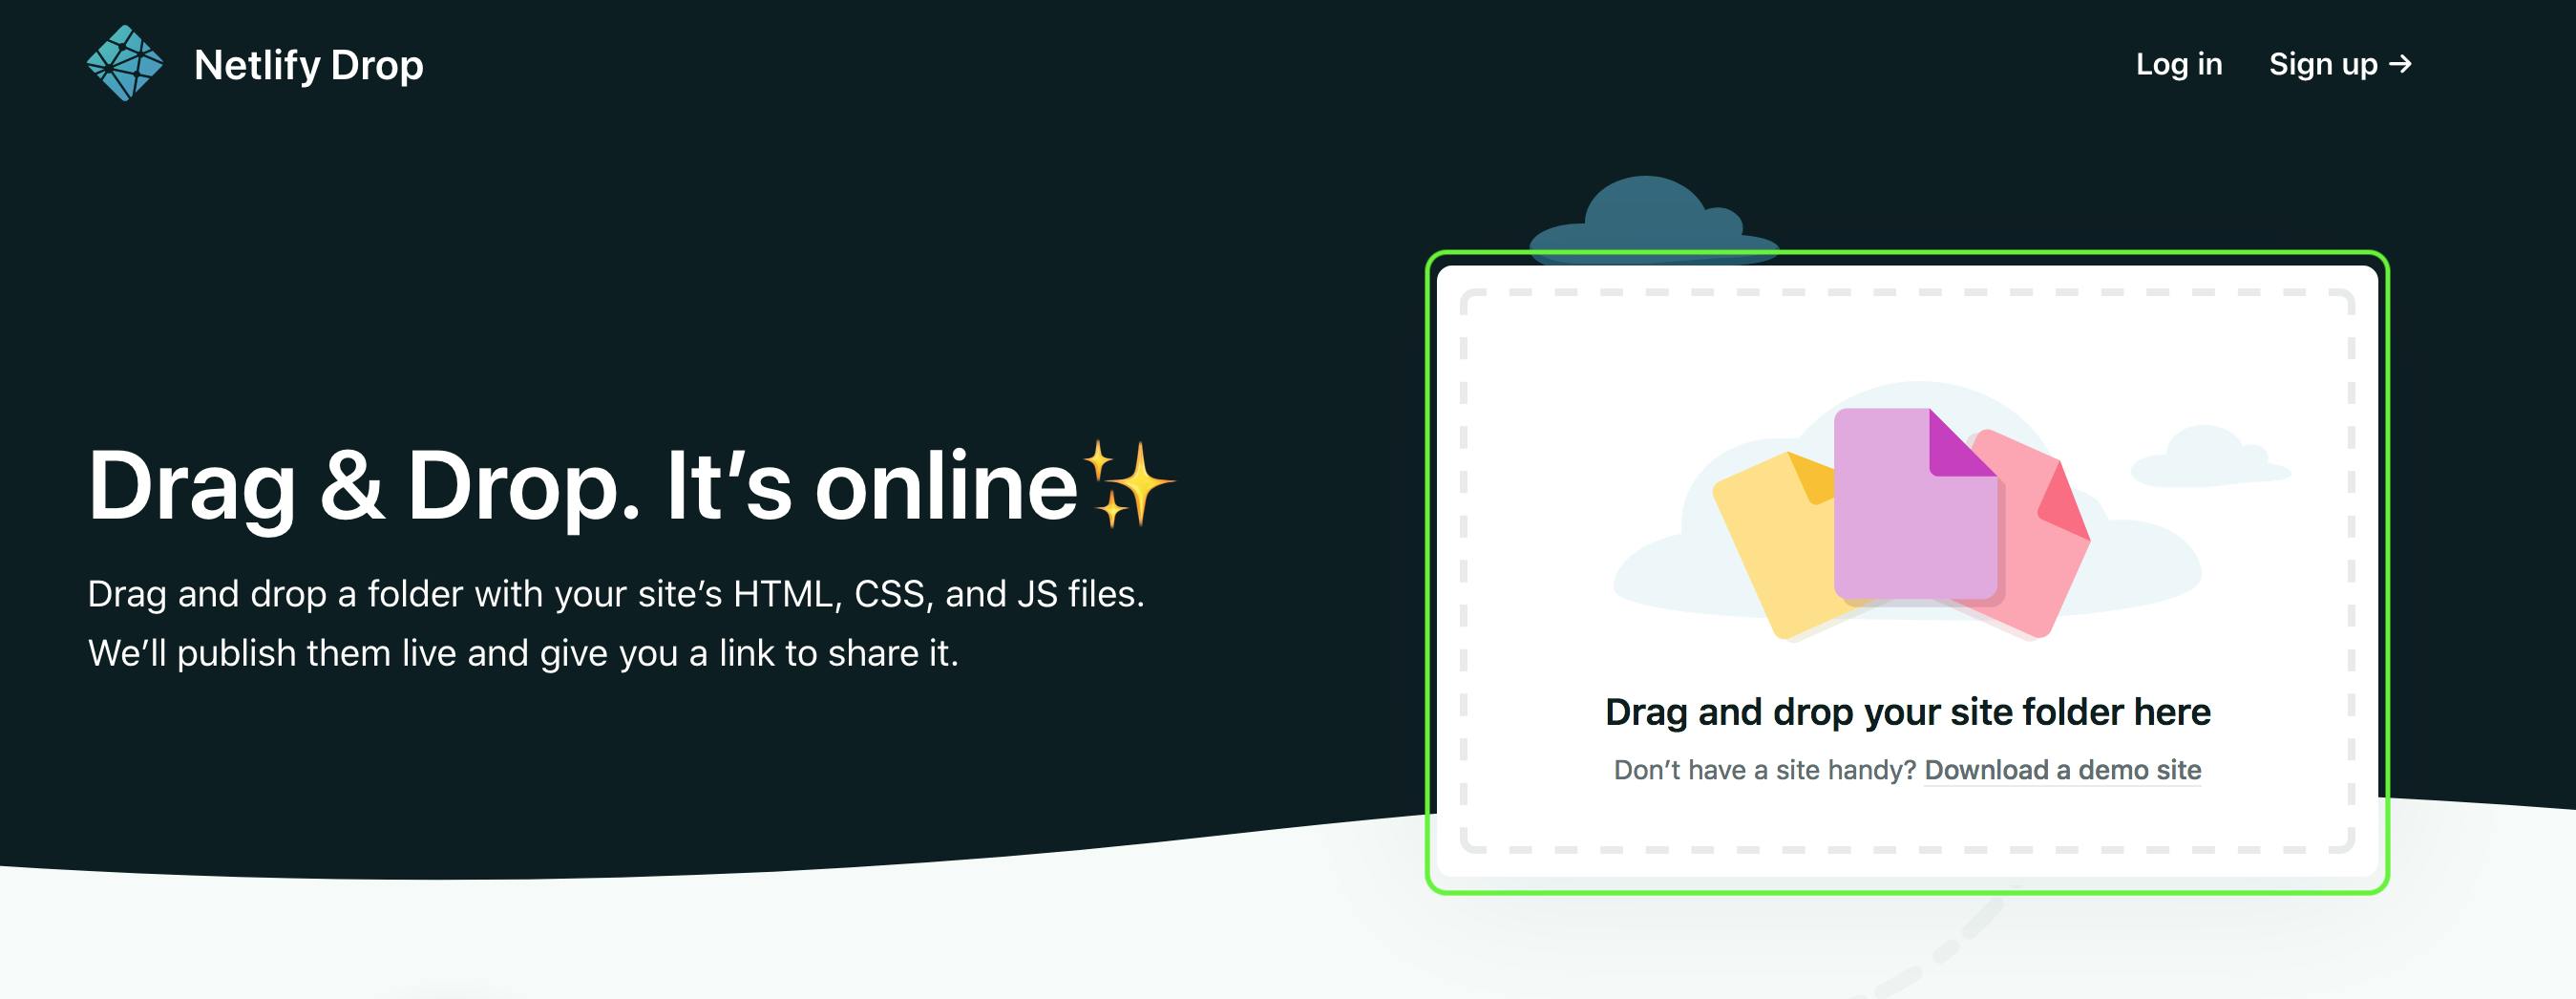
Voila, it's live! If this is your first time deploying a site, I imagine this feels exciting. Feel free to celebrate then come back to continue 😊.

Click on Sign up for Netlify to claim the site. Use you're preferred choice.
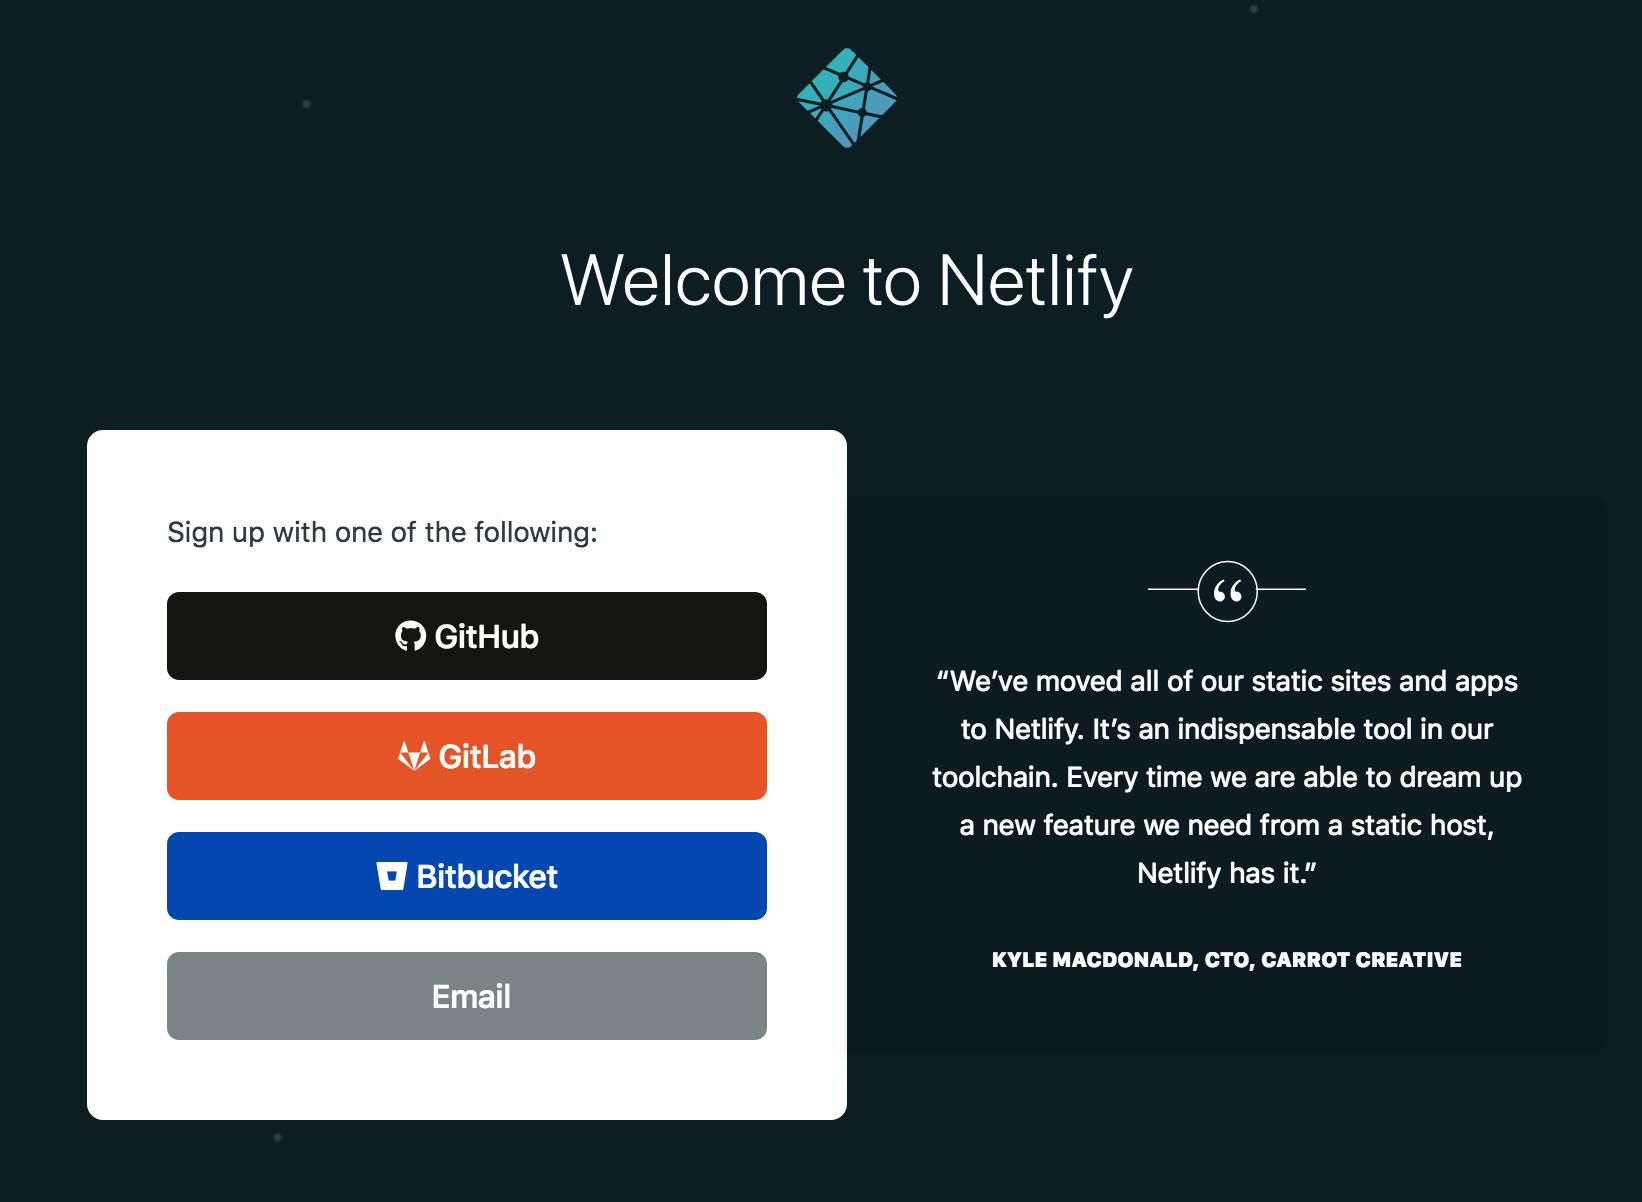
Using Version Control
In the sign-up page, you noticed the three well-known code repository platforms; GitHub, GitLab and BitBucket.
I'll use GitHub going forward, in this tutorial. I'll sign up using GitHub. Past the Getting Started Guide you have a screen like the one below.
You can drag and drop your folder as we did earlier or by clicking on New site from Git you can configure automatic updating of your site every time you push to your remote repository (repo).

Creating a GitHub repository
Skip to the next heading if you're conversant with GitHub. Have a GitHub repo with your site's files on the ready.
If you don't have a GitHub account go ahead and signup here. Once signed up, create a repo, I chose index as the name of my repo.
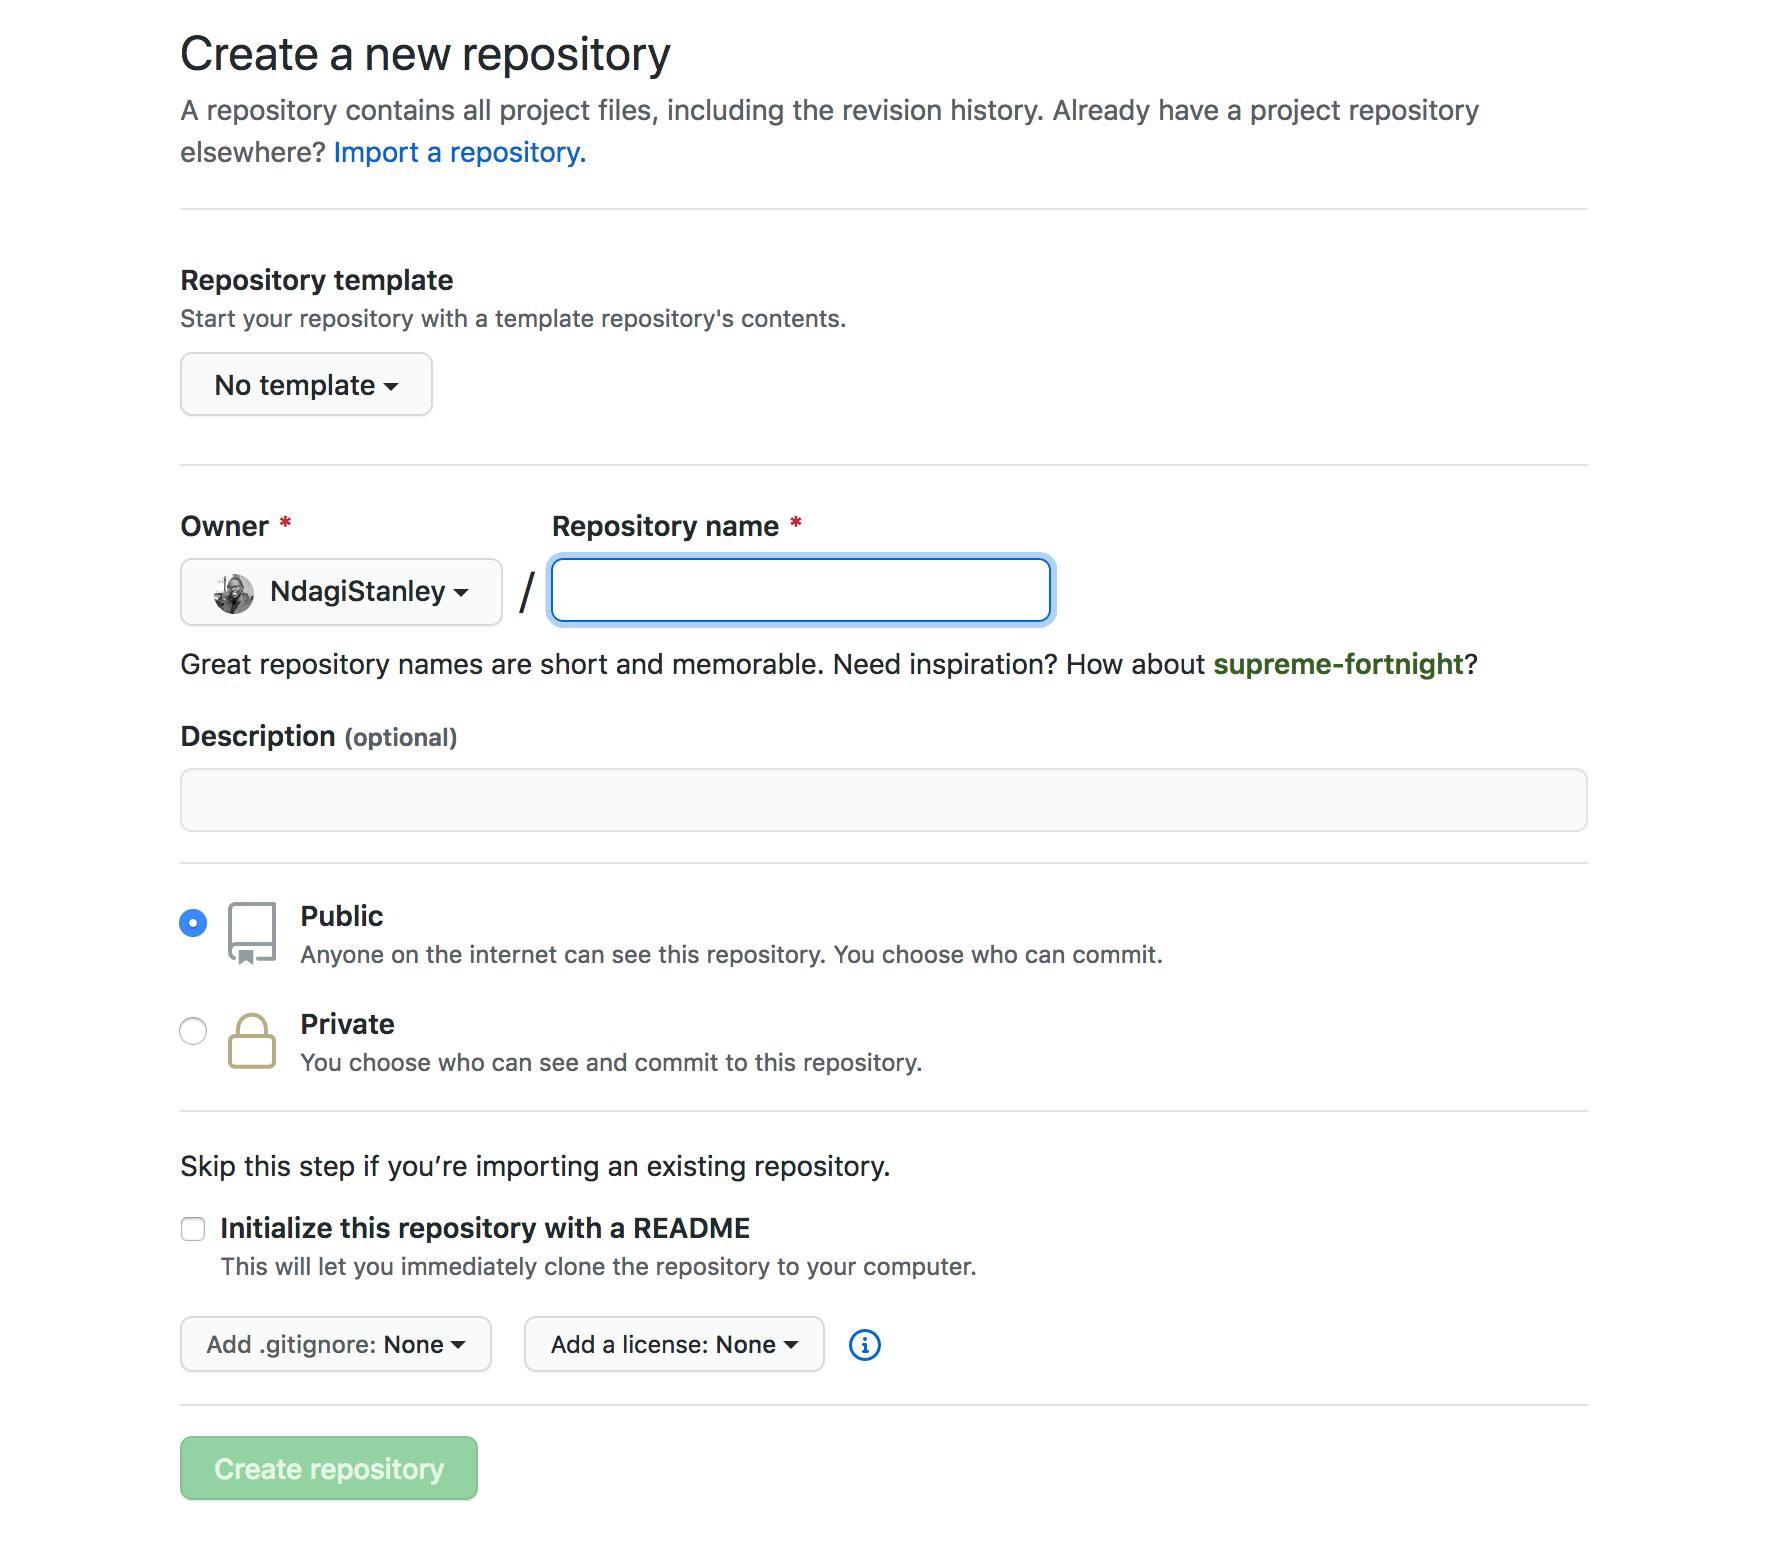
There are multiple ways to push code to your new repo. You can use either of the ones specified. This is the simplest way:
- Click on uploading an existing file
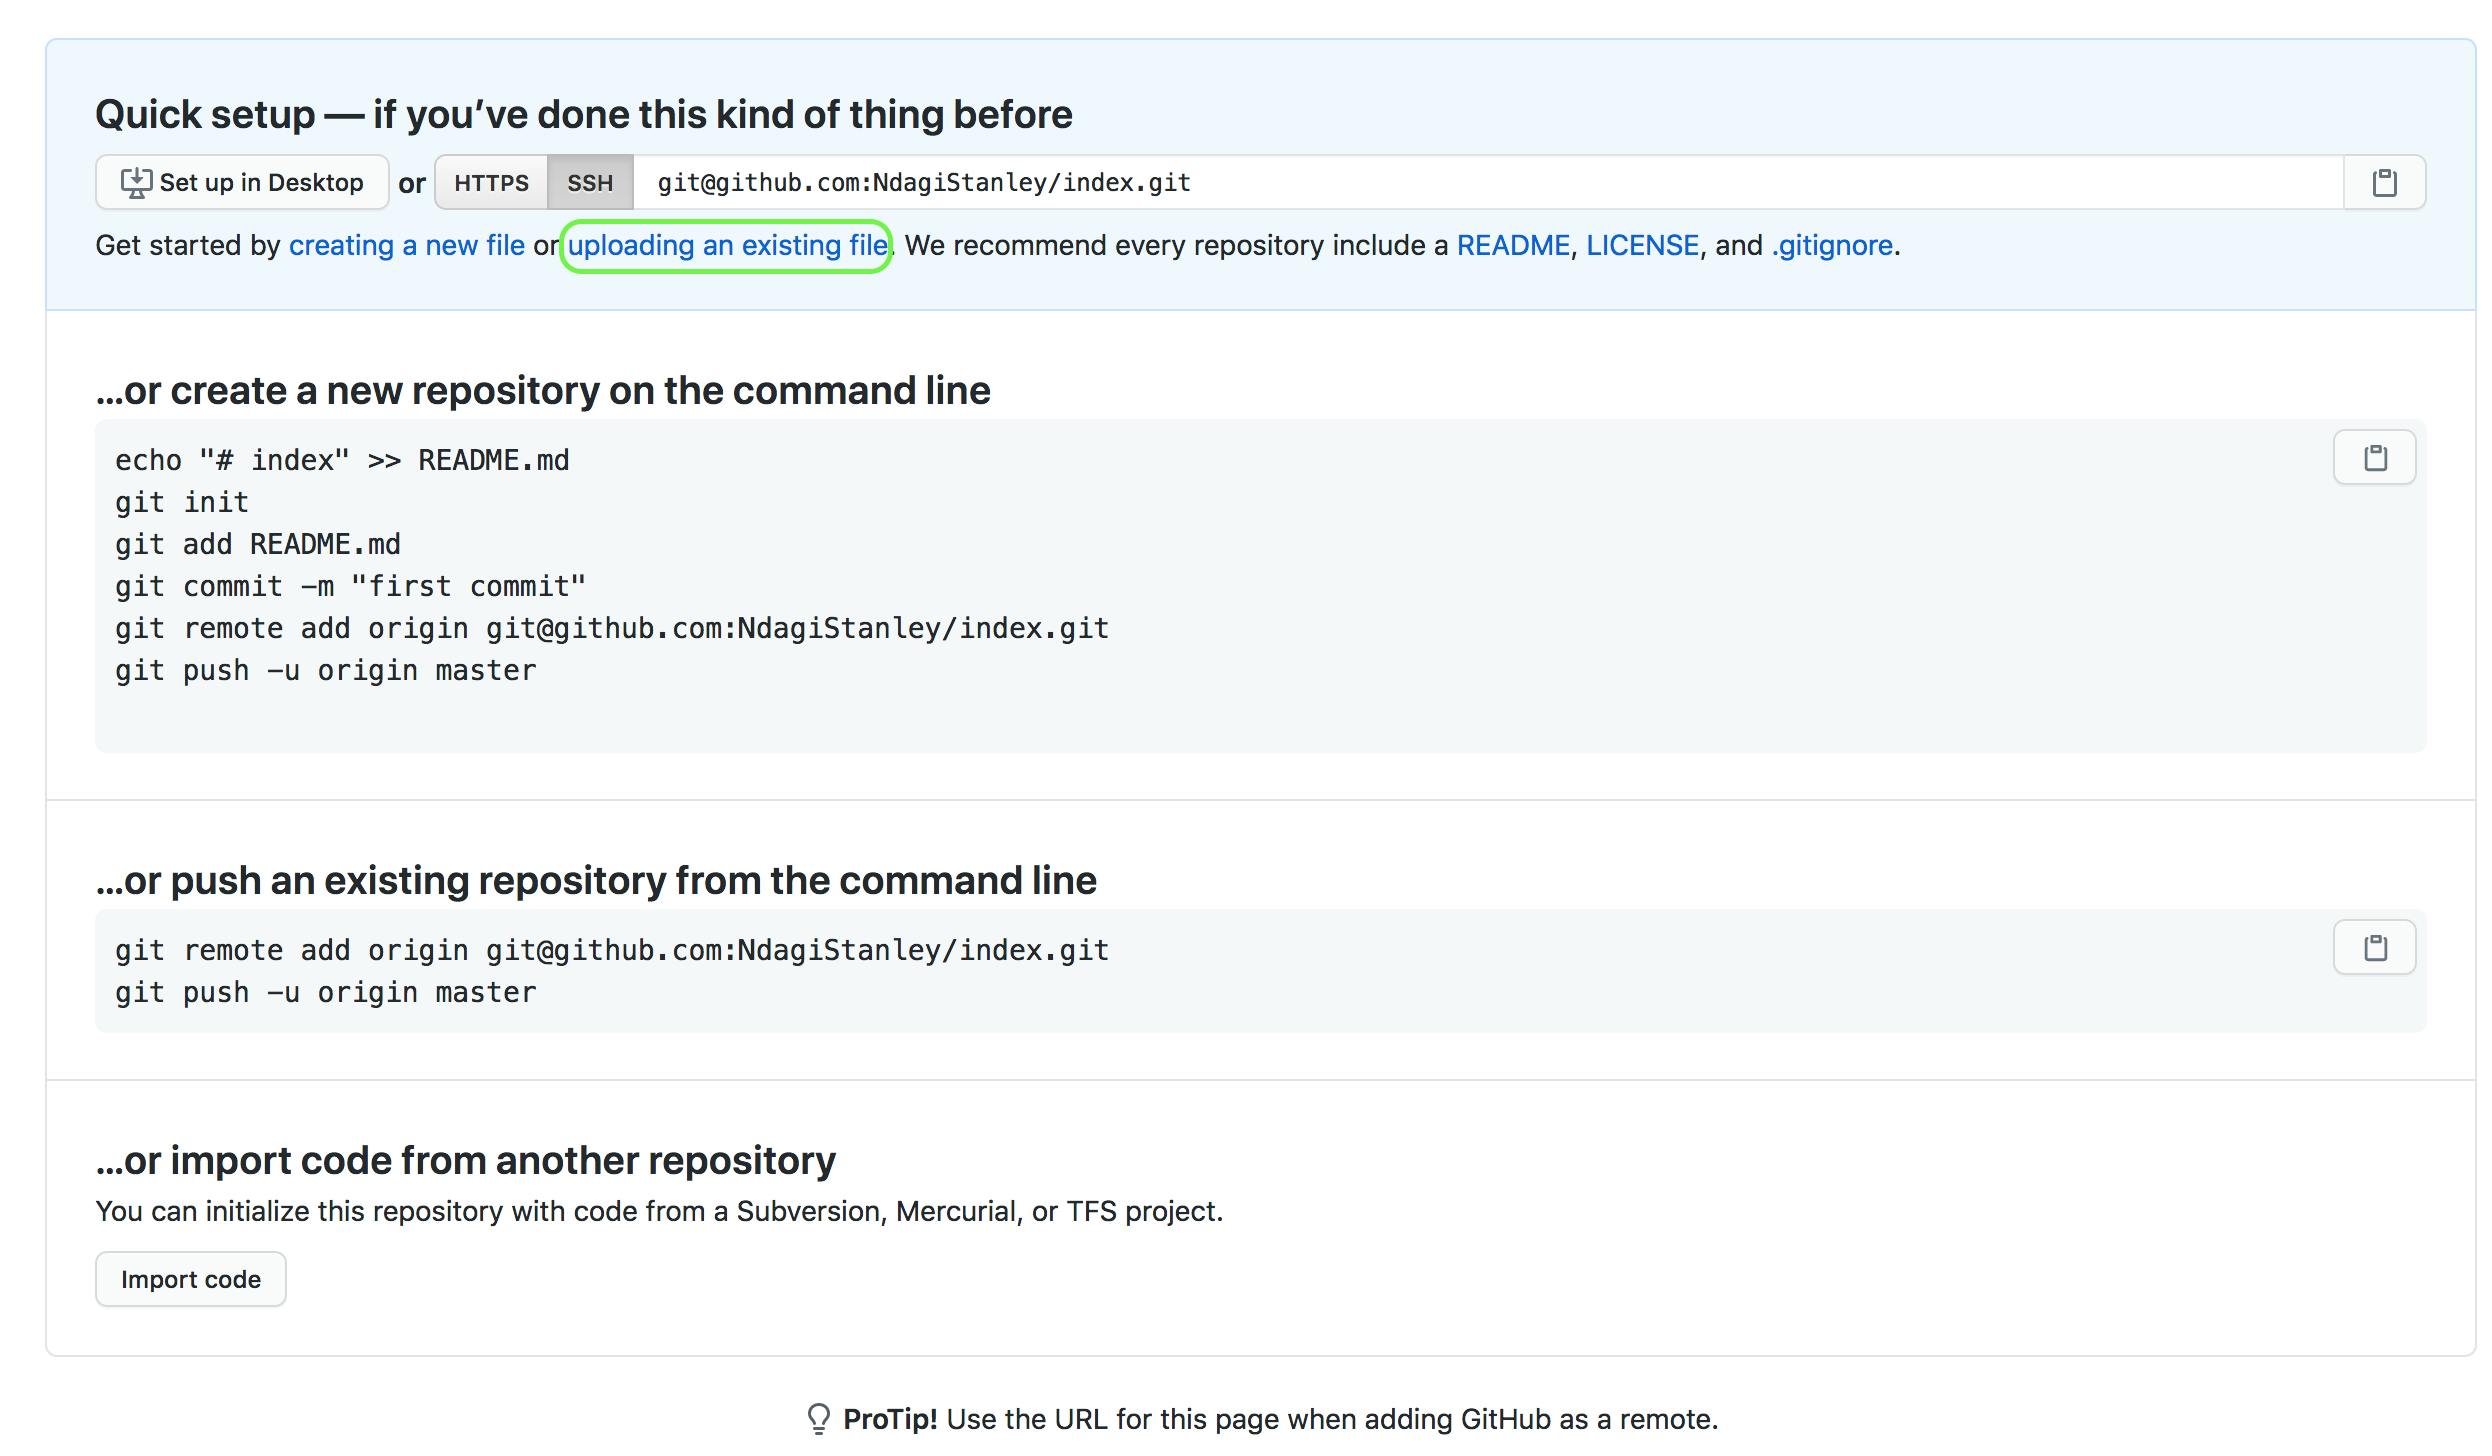
- Click on choose your files, (optionally) enter a Git commit message and click Commit Message.
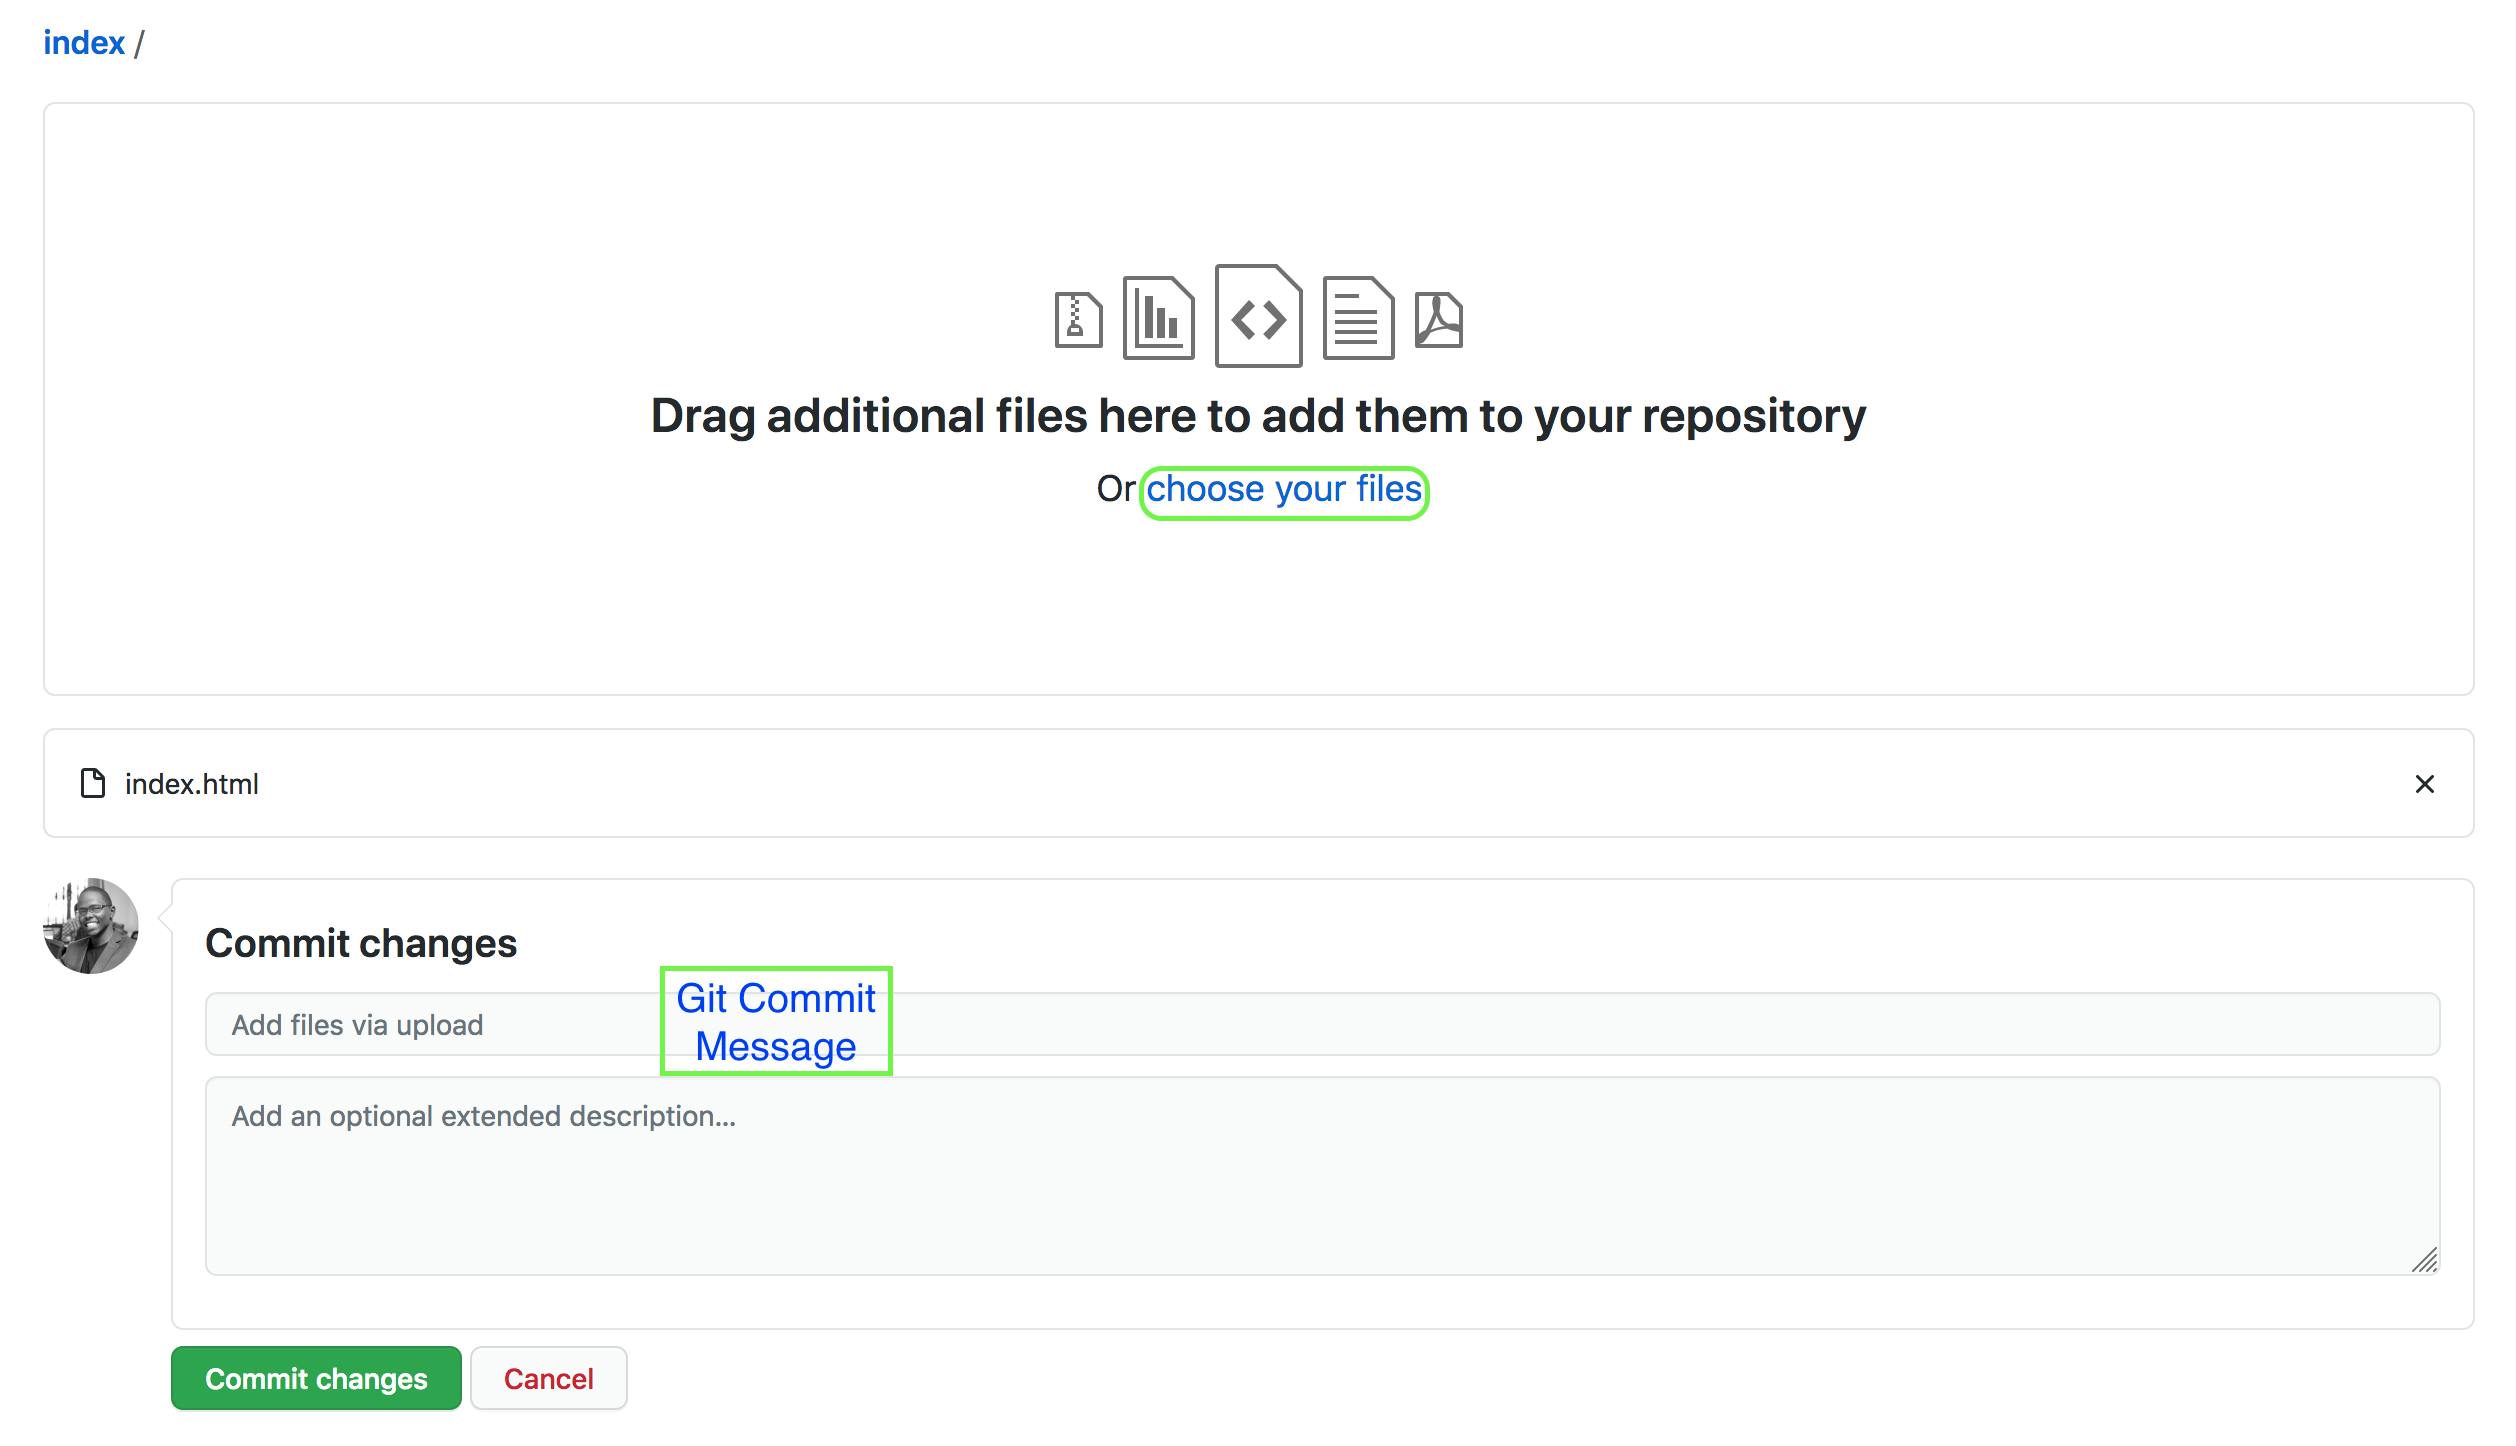
Your repo is then updated.
Configure Netlify and GitHub
In Netlify, after you click on New site from Git, you have a 3-step process to complete. Click on GitHub. Be sure to authenticate Netlify in the popup screen that appears.
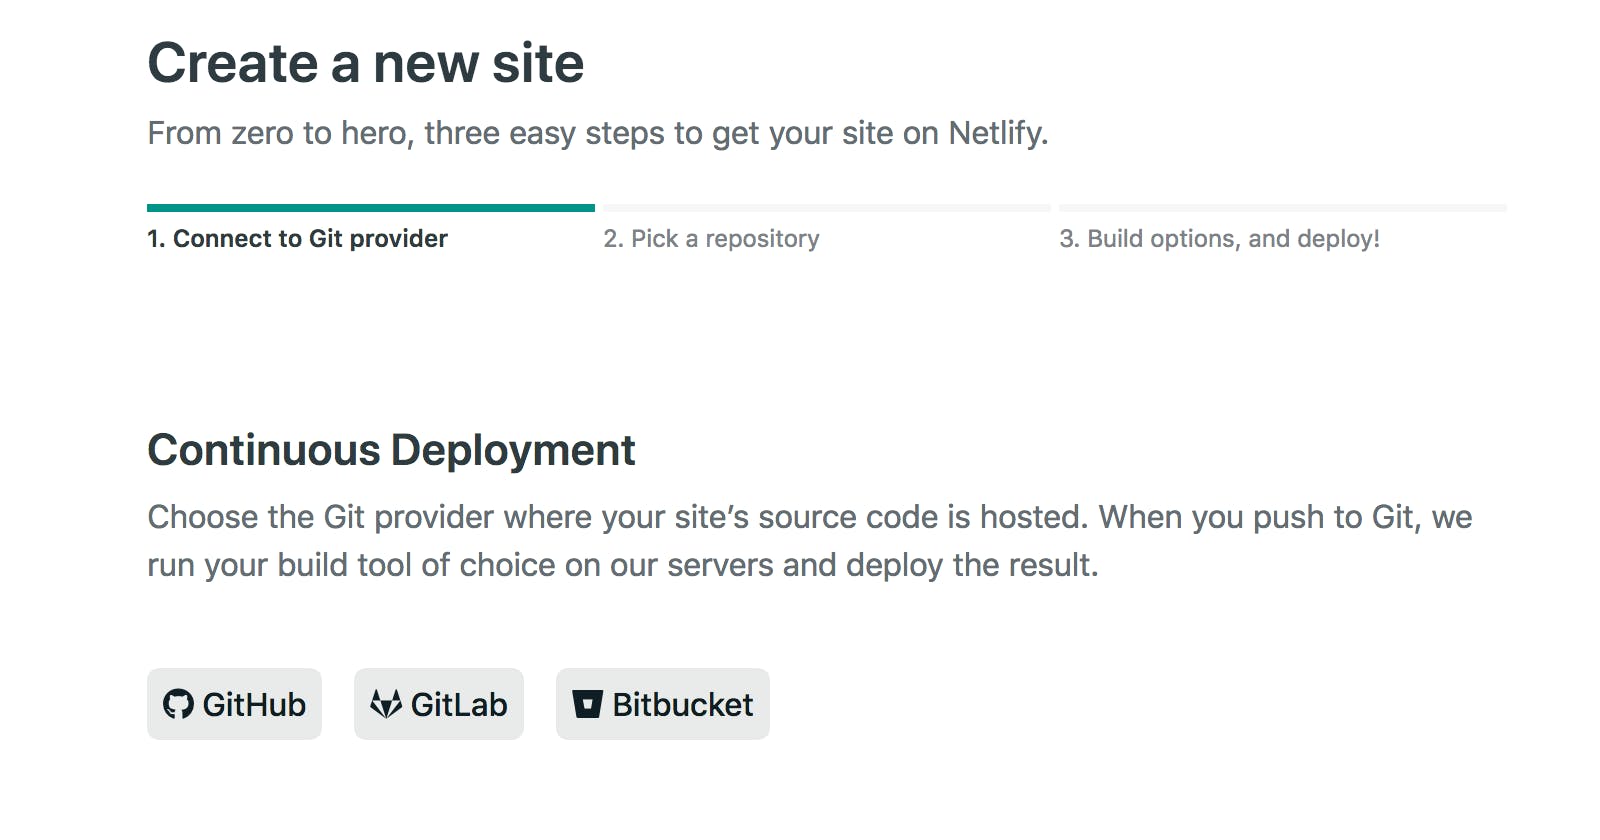
Select the GitHub account you used to create the repo with the site's file(s) so that Netlify can be installed. Select whether you want Netlify to access all your repos or just specific ones.
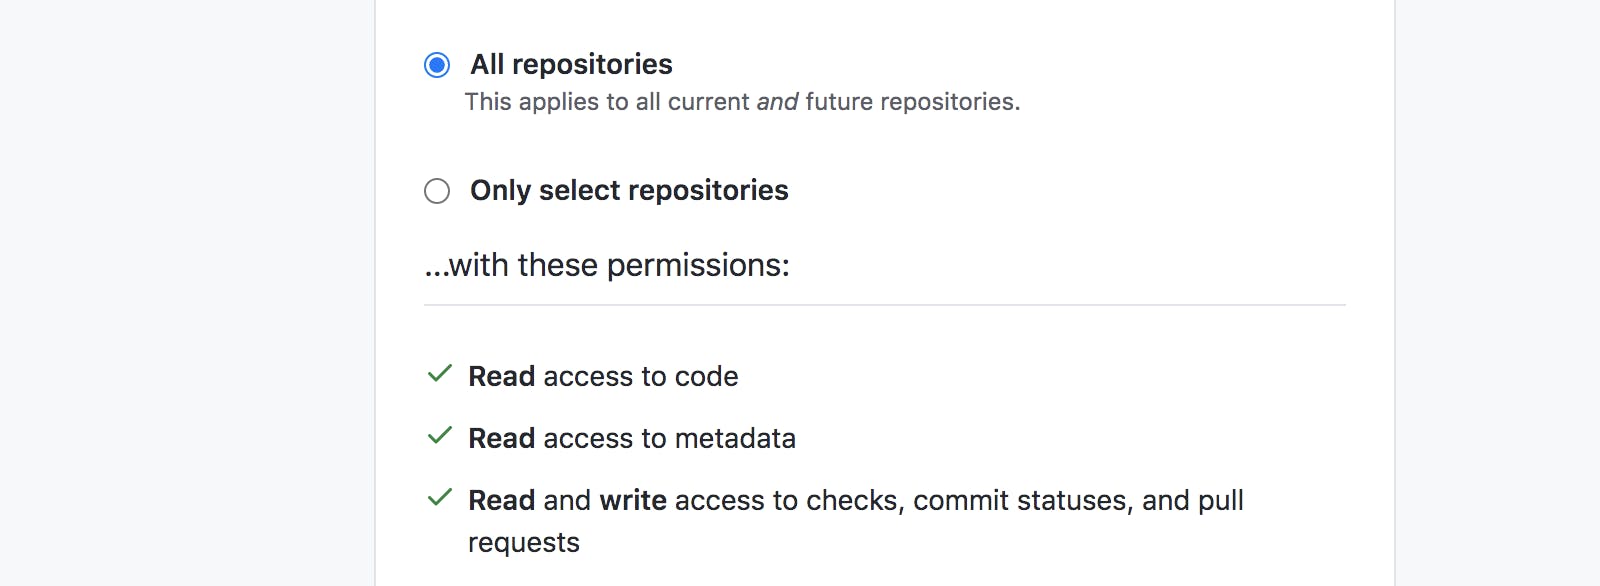
I advise that you select All repositories. You'll be redirected to step 2.
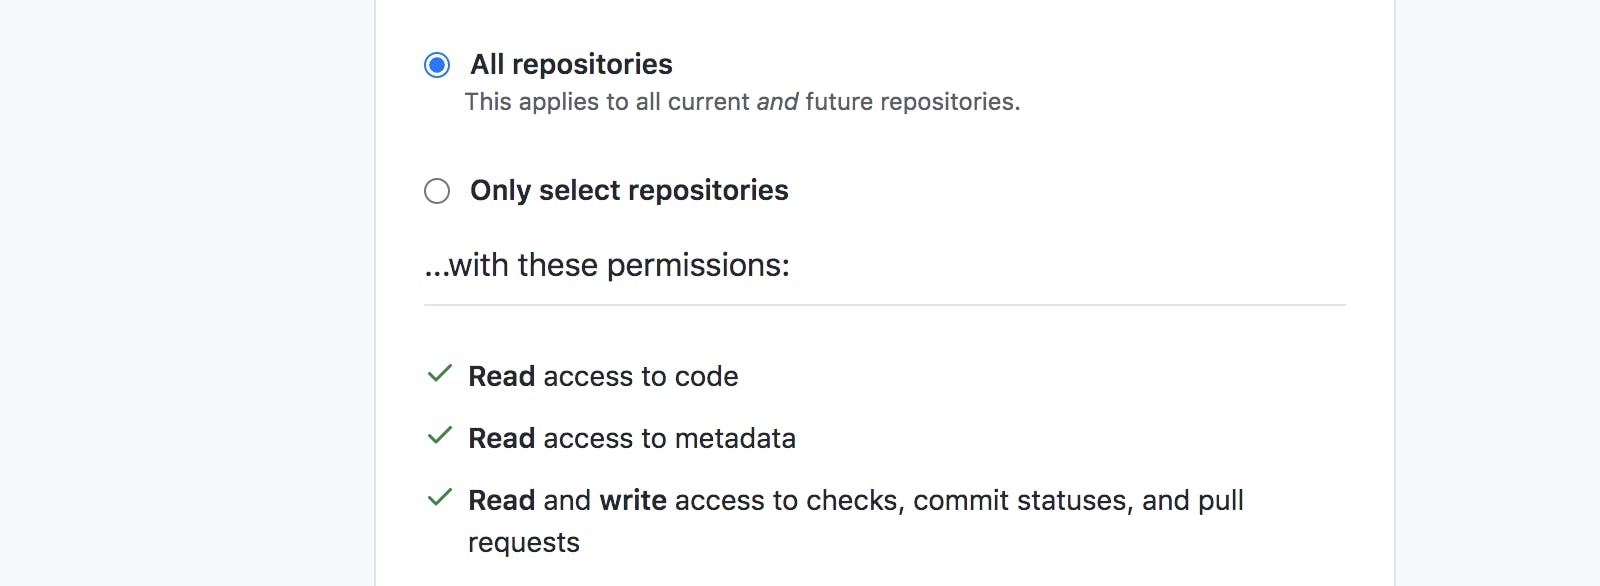
Select the repo of choice. If you selected Only select repositories in Step 1; in future instances, you may not see your new repo listed. You'll need to reconfigure Netlify on GitHub every time you create a new repo.

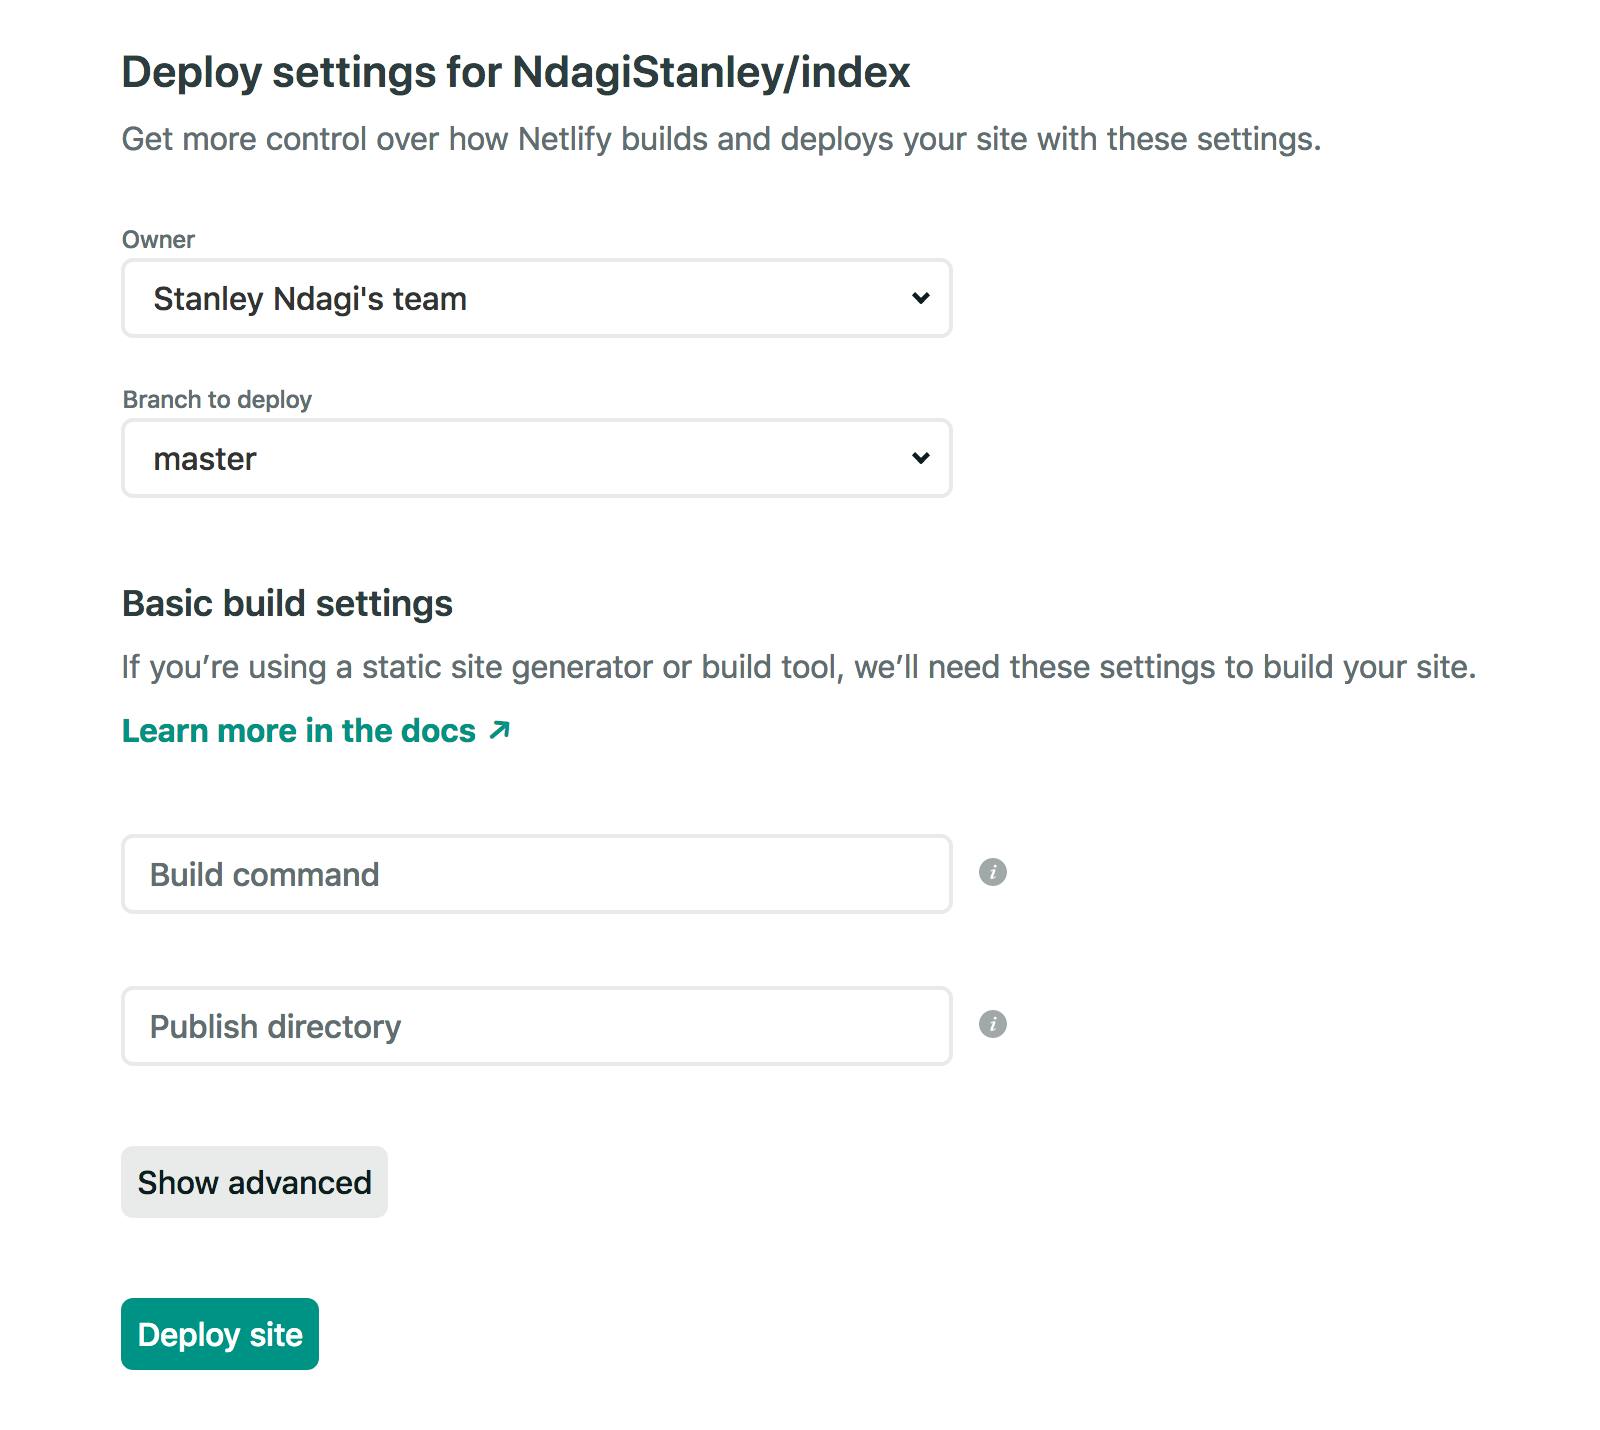
In Step 3, you specify to Netlify which folder is to be used and if there are any build commands to run before deploying. In our case (just having an index.html file at the root of the repo) we need not change anything. Click Deploy site
Tying the domain name and our site together
We're not yet done. We need to 'tie' the site and the domain together.
After the site is live, you'll be redirected to screen showing you that there are two more steps to go...

Why don't we go through that in the next article? See you there.
Next post: #4
